
How to Blend Copic Markers: The #1 Secret to Smoother Blending
We Can solve your Copic Marker blending problems forever!
Why not? This is the age of innovation!
Anywhere you want to go, anything you want to do— there’s a device or an app to make it happen.
We’re all about science and knowledge.
Yet despite the supposedly vast quantities of smart-stuff available nowadays, we still do a whole lott’a magical thinking.
I know, I know… we all love science.
“I heart science” is the catchphrase of the decade.
But the truth is, we don’t actually heart science.
We heart magical thinking.
It’s easier.
“But I’m an educated person! And I looooove science!”
Do you really?
So what happens when your car starts making a clunking sound?
Hmmm. You don’t know why the car engine clunks, do you?
Nope, instead, a mechanic magically fixes it for you.
Granted, he’s not using actual spells or pixie dust… but for all you know, it might as well be magic. Magical thinking allows you to drop the car off and never worry about clunks again.
Magic saves the day!
What happens when your phone screen turns blue?
Take it to the Genius Bar. They’ll magic it for you!
What happens when no hot water comes out of the faucet?
There’s even a magic guy who makes house calls!
Magic solves problems. We don’t have to know how; we don’t even want to know how. All we care is that they’re selling magic at a reasonable price.
So who do you call when your Copic Markers aren’t blending?
Copic Wizards?
Darn it!
We don’t have a magical marker blending guy on our contact list, do we?
But we do have the internet. There’s always lots of answers there.

Except internetters all say the same thing:
“Oh, you’re not using the right blending combo!”
“No, try this marker recipe instead!”
“Whoa, you’re not using the 10 + 12 - 43 formula are you?”
And off we go to the store again. Time to sacrifice another $8.98 to the goddess of Too!
Thanks to the internet, we’re all on a never-ending quest to own the perfect Copic blending combination for every occasion.
Numbers, numbers, numbers.
It’s all about the cap numbers.
Magic!
We rely on cap combinations to make smooth and seamless Copic blends. Purchase magical caps and you’ll never have another choppy blend.
Except we do.
Bad blends still happen, even with the best cap numbers.
Why?
Because most of us don’t heart science enough to understand why our blending isn’t smooth.
Pssttt… Copic science is not hard
No magic necessary.
It’s not about the numbers. It’s not about how you rub the paper. And it’s not about what order you rub the numbers on the paper either.
If you understand one basic sciencey aspect about Copic Markers, you can blend smoothly for the rest of your life!

Every bad blend is a solvent issue.
Let me say that again for super-duper emphasis:
Every choppy, ugly, or blotchy blend is a solvent problem.
You mean it’s not my marker combination?
No.
It’s not the technique?
Nope.
It’s not light to dark or dark to light?
No.
And it’s not because I haven’t finished that online marker class?
No, no, nopity nope.
Look, I’m not saying smart blending combinations and good technique won’t make blending easier. And I’m not telling you that a good class won’t improve the look of your coloring.
But every bad blend is ultimately a solvent problem.
Solve the solvent and you’ll blend better.
Skeptical?
Let’s try an expensive experiment:
Get two bottles of Copic Refill Ink. Choose any two colors, it doesn’t matter which.
Then get a glass. Dump both bottles of ink into the glass. First one bottle, then the other.
Now sit and watch the glass for a few minutes. What happens?
A. The mixture starts to glow. Then it explodes, wiping out three cities and giving one random businessman strange new superpowers.
B. The two inks each stay on their own sides of the glass until one handsome blue particle meets a cute pink particle. They fall in love and secretly marry. But the pink family finds out and starts a gang war. The blue guy accidentally kills the pink girl’s brother. Then a creepy pink guy kills the blue guy. Finally, the pink girl sings a sad song and we all cry.
C. The two inks mix together.
It might not make for the most entertaining evening on broadway. The combined color might be roadkill-ugly… but your two bottles of various ink will always blend completely and smoothly in a glass.

That’s science, not magic.
It’s called dispersion— the science of distributing color particles evenly. A good blend is an even dispersion.
The reason why inks disperse evenly in a glass is because both colors are floating freely in a generous sea of solvent.
Solvent. Alcohol. Methyl Alcohol.
Hey, remember? We call ‘em alcohol markers for a reason.
Alcohol inks are a bunch of tiny little color particles swimming around in an alcohol solution. When the particles have complete freedom to move, the particles will disperse and blend.
Inks want to blend.
It’s what they live for.
With the right amount of solvent, all Copics will blend smoothly and seamlessly with any other Copic color.
There isn’t a single Copic in your collection that won’t blend with every other Copic marker.
THEY ALL BLEND.
It doesn’t matter what color they are, what the value is, or if there’s a full moon. When color particles are free to move, they will blend.
They’re not all pretty blends but they all blend.
Because of solvent.
Moisture.

Why does it work in a glass but not on paper?
Well, let’s heart science a little bit more now.
Every time your Copic blend is less than smooth, it’s because you threw off the ratio of solvent to colorant.
You messed up the dispersion process.
Solvent control— giving the color particles just enough juice to do their happy blending thing… that’s the ultimate trick to blending.
When you ruin the ratio, the blend will not look smooth.

If you short the solvent, then color particles can’t easily move around. If they can’t move, they can’t mix. Dry conditions make for choppy, unblended, bad looking marker blends.
And if you overdose on solvent, you’ll confuse the color particles. Too much freedom is almost as bad as not enough. With too much solvent, you’ll get mottled, speckled looking areas on your project.
You don’t need a Copic wizard to recommend better marker numbers, you just need to pay attention to what the solvent is doing (or not doing) on your paper.
Control the solvent and you’ll control the blend.
Understand solvent and everyone else will assume you’re the Copic wizard!
Solvent is the key.
Not magical blending combinations.
Not wizard technique.
Good blending comes from good solvent control
Let’s look at how we typically mess-up the ratio of colorant to solvent:
Problem: Using just enough ink to barely coat the paper
Diagnosis: Quick and skimpy coloring tints the paper but it doesn’t get the paper very wet. You’re not laying down much ink and that means you’re not applying enough solvent. Without enough solvent, the color particles can’t move across the paper surface. Remember, if they can’t move, they can’t blend.
Solution: Slow down when blending and use the side of your brush nib instead of the tip. Slowly coloring from the side of the nib releases more ink (and more solvent!) into the paper.
Problem: Markers that haven’t been filled in ages
Diagnosis: Dry markers are low on more than just colorant, they’re also low on solvent. If your strokes are dry, the color particles can’t move, and the blend looks terrible.
Solution: Keep your markers properly filled for moist and juicy solvent release. NOTE, a marker doesn’t have to be squeaky or leaving pale streaks to be considered dry. A full Copic Sketch marker should weigh about 14 grams. I notice reduced blending ability at anything less than 13.5 grams. That’s as little as 2 projects! Keep ‘em topped off for optimal blending.
Problem: Bullet nib markers
Diagnosis: Bullet nibs are for drawing and lettering, not coloring. They are deliberately dry, giving the paper just enough solvent to make a crisp mark. But that’s not enough to blend properly, forcing you to scrub the paper repeatedly to coax out enough solvent for smoothing.
Solution: Switch to a Sketch or Ciao style marker for a better coloring nib, the Super Brush Nib. If you don’t want to purchase new markers, consider switching out the chisel nib on your Classic style Copic for a Classic Brush Nib. The Classic Brush is not as juicy as the Super Brush but it’s a lot better than a bullet!
Problem: Failure to overlap your marker layers
Diagnosis: For colors to blend, the inks need to do more than touch edges!
Solution: Overlap the inks with wide and generous zones so that the solvents can do their job making beautiful blends.
Problem: Blending dry areas with fresh ink
Diagnosis: Some people color so slowly that one ink dries before they get to the second ink; or occasionally, you may want to refresh an old coloring project. When you color on dried ink (whether it dried minutes, days, or years ago), you will have a noticeable solvent disadvantage. The dry area has no solvent to contribute to the blending process.
Solution: Get everything wet again! Moisten the entire dry zone with a light coat of the blending ink to rehydrate the entire area before you start officially blending. Once the old ink is moist again, it’s ready to resume blending as normal.
Problem: Using office grade cardstock/paper
Diagnosis: No one in an office wants to handle wet copies. That’s why paper for printers and copy machines is designed to let solvent evaporate very quickly. That’s the exact opposite of what you want for Copic coloring. Copy paper, even the best quality copy paper is the EXACT OPPOSITE type of paper for Copic coloring.
Solution: Upgrade to a paper or cardstock designed to keep marker solvent wet longer. Papers like X-Press It Blending card slow the evaporation time, immediately improving your blends.
Problem: Protecting the work surface by placing buffer paper below your project
Diagnosis: The scrap paper wicks and absorbs solvent through the back of your project, prematurely drying your inks.
Solution: Switch to coloring on a non-absorbent surface like a glass mat, an acrylic clipboard, or even one of the new magnetic project boards. A hard smooth surface will keep the solvent wet longer!
Problem: Blending and blending and blending
Diagnosis: Oily looking or blotchy dark patches where the paper can not hold more color particles.
Solution: There is a 10 to 20 second delay before the solvent activates. Many people stroke an area with the marker, waiting to see the blend finish before they move on to the next area. By the time you see the solvent working, you’ve already over-inked the paper. Give the zone a generous coat of ink, then move to the next object. After a minute, if the first area still hasn’t completely blended, then give it a second coat.
Problem: Tiny light or dark spots in what looked like a nicely blended area
Diagnosis: Mottles happen when an area receives too much solvent. The color particles move past the mixing phase and begin to clump together as the excessive solvent puddle slowly evaporates.
Solution: Mottles usually occur when you’re using mismatched markers with very different ratios. A dark marker has lots of colorant and not as much solvent. Light marker have far more solvent than colorant. The solvent disparity overwhelms the darker marker. Look at the last number on the Copic cap and choose two numbers that are closer together to better match the solvent levels.
Problem: Darkened dry lines or “bathtub” rings around the edge of a re-blended area
Diagnosis: When you fixed the small spot, the new solvent damaged older color zones.
Solution: You can not spot-blend small parts of larger areas without endangering the dry areas. Fresh solvent steals color particles from the edge of the dry zone and moves it into the new wet puddle. To prevent rings, rewet the whole entire shape, not just the part you want to re-blend.
Everything is about solvent?
Pretty much.
If you’ve got a blending problem, I can almost always point to a solvent related resolution.
But you don’t need me!
If you understand what’s happening with the solvent, you can prevent blending problems.
It’s not about magical marker numbers. It’s not about witchy technique.
It’s the science of solvent.
How can we develop better solvent awareness?
First, stop thinking of blending as magic.
Don’t assume someone is using the greatest marker recipe ever invented or that they’ve somehow stumbled upon the best technique. We must think deeper to understand deeper.
Next, stop blindly following recipes and directions.
Instead, begin to pay attention as you color. Watch what the solvent is doing, observe how the colorant behaves as the solvent dries. Learn from what you see in order to apply that knowledge later.
Above all, diagnose your own problems.
Don’t turn to the internet first for problem solving advice because most of the time, internetters will tell you to try a different blending combination. That’s NOT a solution, that’s avoiding the problem.
The whole avoidance attitude has led to millions of Copic users who are afraid to use this marker with that marker. And there are tons of people who can’t color without a certified, sanctified, pre-approved magical recipe.
This is crazy! There is a logical reason why your markers won’t blend and YOU have the power to figure out why. When you dig yourself out of the hole you’ve created, you learn.
Plus, some of best techniques are born from mistakes or fixes! Some accidents look better than the blend we originally wanted.

The difference between a beginner and an advanced colorer is not the number of techniques they know.
It’s not skill. It’s not talent and it’s definitely not magic.
Advanced colorers understand solvent.
Some advanced colorers consciously know they’re controlling the solvent but others haven’t yet put it into words. Many attribute their marker mastery to intuition or experience.
But it’s all just solvent control.
Understanding your markers.
All advanced colorers read what the solvent is doing as they color and they adjust their coloring to maximize the smoothness of the blend as the solvent is working.
They’re also better able to predict solvent issues before they happen.
It’s not magic.
It’s solvent.

Select supplies used in “Lazy Gummy Bears”
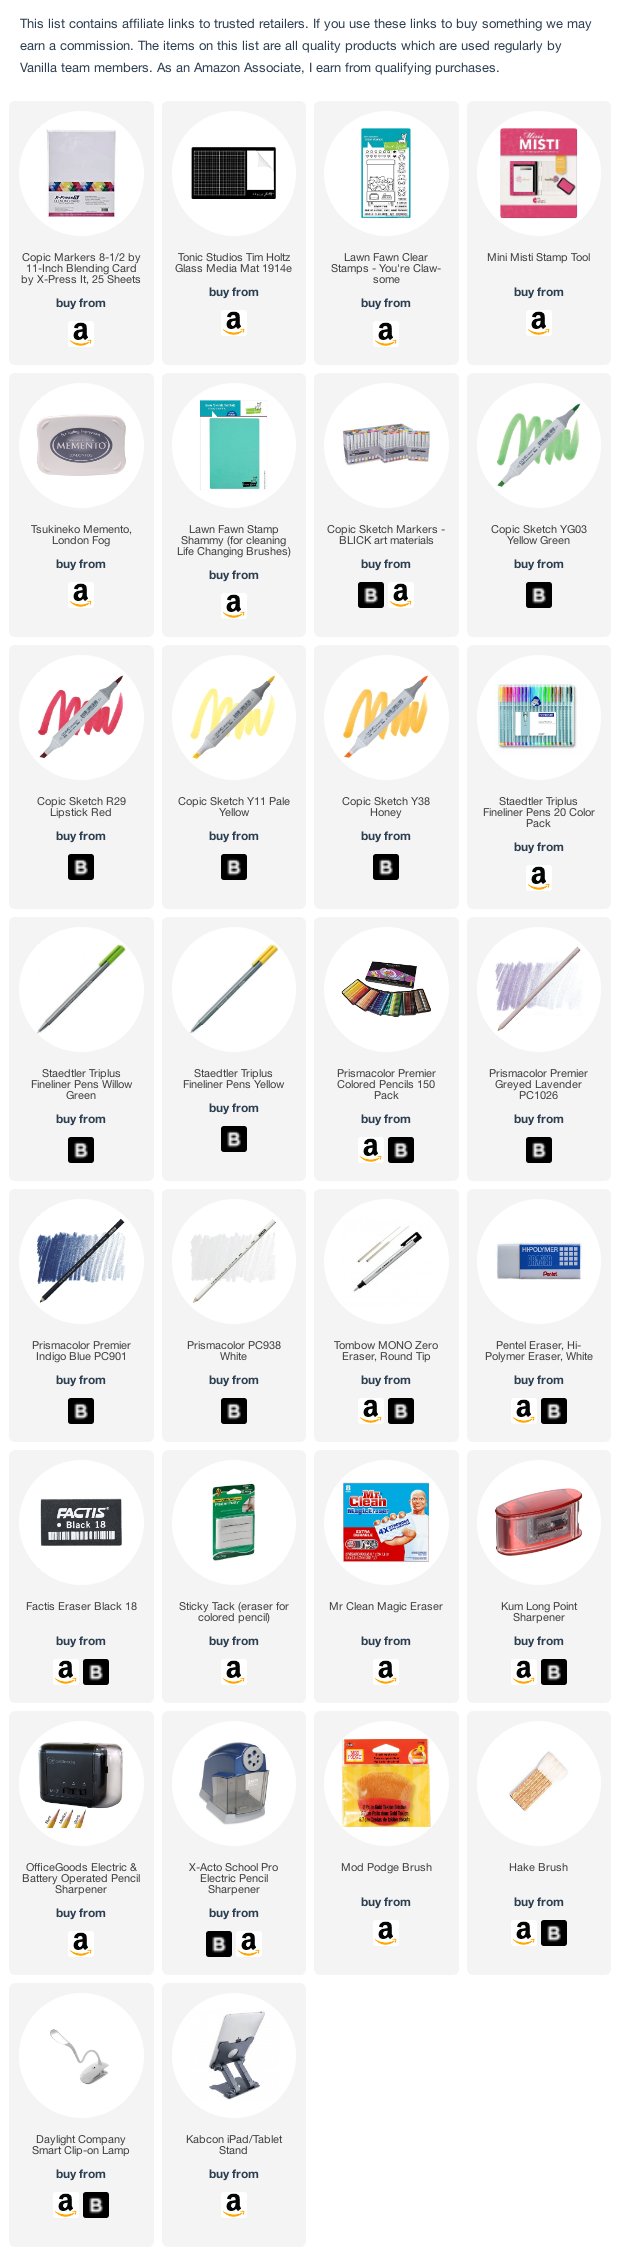
Vanilla Arts Company is a participant in the Amazon Services LLC Associates Program, an affiliate advertising program designed to provide a means for use to earn fees by linking to Amazon.com.


Quisque iaculis facilisis lacinia. Mauris euismod pellentesque tellus sit amet mollis.