This Isn't Paint-by-iNumber - Change your Marker Blending Philosophy
Back in the 1970’s, if you did crafts, you made them from a boxed kit. We didn’t have the internet for inspiration and instruction. We crafted by the box.
I loved one kind of box more than any other- the paint by number kit. I lived for the moment when all my weird globs of paint on the canvas finally coalesced into a prancing horse or a spray of roses.
The rule in paint by number was to stick to the numbering system. Bad things happened if you went outside the lines, put the wrong color in a spot, tried to blend two sections together, or if you ran out of paint and had to start substituting.
Up close, paint by number paintings are eye-scalding but from 20 feet away? You might be mistaken for Van Gogh… or so the box claimed.
Do you treat Copic Markers like a paint by number kit?
When I was a girl growing up in the 70’s, I loved paint by number kits. Every year, I asked Santa for a new kit and I’m sure I wasted most of my birthday wishes for more.
Times have changed but I still see a lot of similarity between the paint by number kits of the disco age and the coloring tutorials being published today.
"Here’s the list of markers I’ve used- don’t change anything. Here’s where I put those colors- don’t change anything."
Copic fans live by the numbering system and you get all squidgy in your seat when I start talking about deviating from the project sample.
It’s a tutorial mindset, something you’ve carried around since grade school.
"Here is how to solve the math problem. Here is how to structure a paragraph. Here is how to draw a tree.”
Art by the Numbers?
The do-what-I-do tutorial mindset gives you the impression that there’s one correct way to do something.
Sure, you tell yourself “there’s not one right way to make art” but you don’t really, really, really believe it in your heart.
If you believed it, Pinterest would be a barren Copic wasteland. No marker recipes, no how to color grass tutorials.
You say “I can make art” in the same way you say “I can be president someday”. In the meantime, you scramble around trying to buy the same exact markers and pencils that your coloring hero recommends.
And here's the catch, if there’s one correct blending combination to use on strawberries and another correct combo to use on cherries, then doesn’t that mean you should enlarge my projects to see exactly where I’ve used each color in the combination?
Shouldn’t there be a map with little boundary lines for where to put the R29 and where to put the R27?
Hmmm… paint by numbers anyone?
You might as well be coloring Elvis on velvet because you’re not creating art.
You’re re-creating someone else’s art.
Break the Blending Combination Rules
I talk a lot here at Vanilla Arts about developing voice and artistry.
One way to do this is to banish the paint by numbers mindset.
Now I’m not saying that you shouldn’t use project recipe guides.
Supply lists are actually a great jumping off point for Copic projects. If someone colored a mermaid or a smiling toaster in a way that you found appealing. Go ahead and use the recipe.
But don’t obsess about getting every color into a specially designated area.
Trying to keep each area a single pure marker color is killing your artistry.
The biggest misunderstanding I see with students is that they think they can point to one area of a project and see one marker color there.
Here’s where Amy used R29 and here’s where she used the R24…
Keith Haring worked that way and so did Patrick Nagel but their work is purposefully flat.
For dynamic depth and dimension, layer colors rather than blend.
You can’t just put your finger on one place and say “that’s pure sap green paint” or “that’s YG93”.
Van Gogh had some amazing yellows in his work not because he purchased good tubes of yellow paint but because he mixed, layered, and smushed his colors together to create original yellows.
Do you apply colors side by side and only blend where they touch?
A lot of people try to use Copics this way. You color one area R29 and the area next to it R27, then you smush the colors at the edge to blend them along the border.
This leads to flat coloring.
The problem is that you’re thinking of a blend as a way to connect R29 to R27 colors. Meanwhile an artist thinks about what color R29 and R27 can make when combined.
See the difference?
You’re blending as a transition. A marker artist blends to make a new and unique color.
Expand the size of your blend zone
Yep, it’s that easy.
Instead of trying to get from one marker color to another as quickly as possible, do it the carefree and slow way.
Double or triple the size of the area where your markers overlap.
Instead of jumping, meander.
In the no man’s land which isn’t purely one color or the other, you’ll begin to develop amazing new colors.
Colors that are unique to you.
You can hand two people the same two markers and each of them will blend the colors in slightly different proportions. You’re not going to see the same two shades from every person. Heck, try it yourself sometime- you won’t blend the same color today that you will tomorrow.
The colors you create in expanded size blend zones become part of your artistic voice.
The Artist’s Secret:
Your markers are begging for an expanded blend zone.
Copic inks are ideal for the layering process.
When you apply ink in generous layers, Copic inks will self-smooth and blend on its own.
Your markers are waiting for the space to merge and swirl. They want create new and glorious colors; it’s what they were born to do.
You’re holding them back with artificial paint by number boundaries.
When you color by numbers, using one marker per area, it’s like whistling a tune.
But when you paint with markers— layering and creating new colors over large areas, that’s like hiring the symphony to back you up.
It’s the same song but a much richer experience.
Bonus: Save Money By Mixing Colors
Guess what else happens when you expand the blend zone?
Layering your markers decreases the need to own all 358 Copic markers.
Because you aren't relying on a single marker to color each area, you don’t have to run out to Michaels for the Y35 needed to finish a project.
Instead, you’ll be able to create the look of Y35 by layering a medium yellow over a light orange or by layering a light yellow over Y38. There are lots of ways to get there that don’t involve ordering Y35 from Amazon at 11pm on a weeknight.
And there’s another benefit to large blend zones-
Large blend zones make smooth blending easier
Have you ever tried going from 0 to 60mph in five seconds on a skateboard?
That’s a newbie trying to smooth blend in a short zone. Expanding the zone gives you more room to make the transition satiny and subtle. Quick transitions are hard, even for the pros!
So no. I can not point to a spot on my project and say “here’s nothing but R29”
In my projects, single color areas are pretty darned rare.
I layer almost everything, so my answer is more like
“here’s the R29 with a bit of B32 underneath and there’s some R17 and maybe some R24 over the top and that’s all sitting below a light buffing of Poppy Red pencil… and… uhm, there might be some Tuscan Red there too, or maybe that’s Aqua, I can’t remember.”
I don’t paint by numbers anymore.
You don’t have to either.
Gray Matter
Join me for a fun Copic Marker + Colored Pencil lesson in the Vanilla Workshop
Intro to Grisaille underpainting for realism
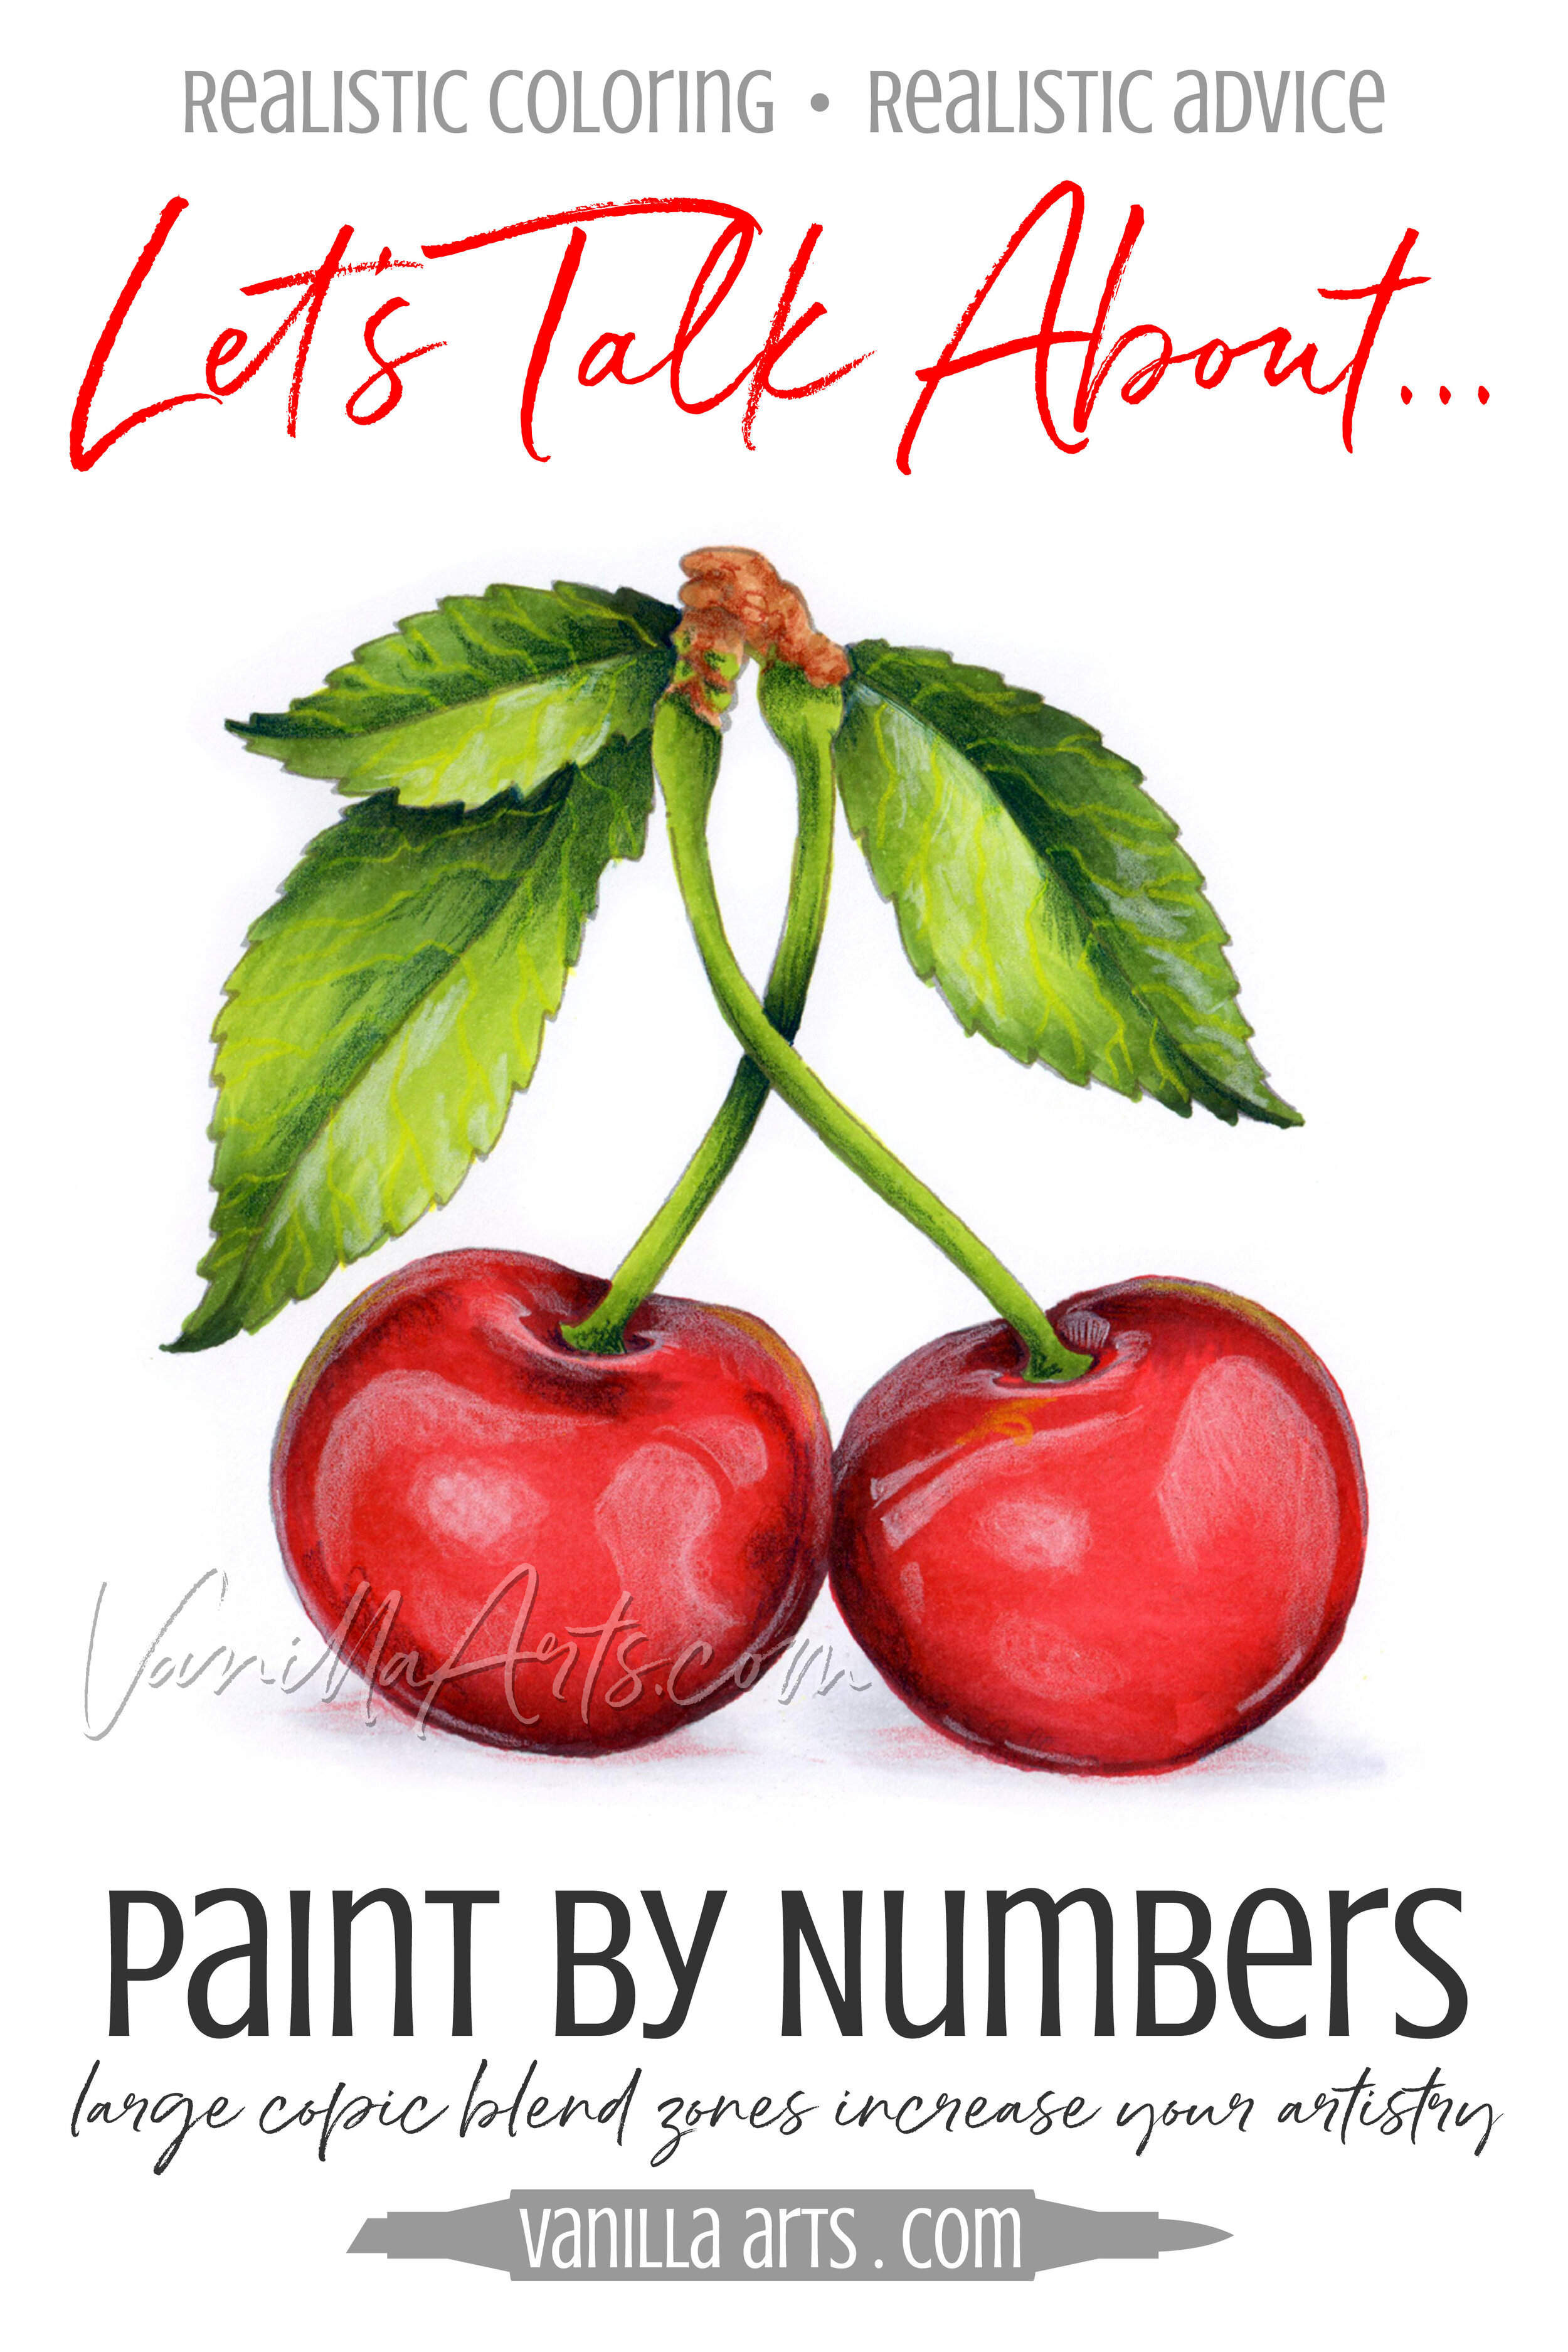
Learn to underpaint with gray, blue, or violet markers for amazingly lifelike cherries. Then apply the same concept to everything you color.
Intermediate Level Class
Workshops are NON-SEQUENTIAL!
All Vanilla Workshop classes are ANYTIME ACCESS. Work at your own pace and repeat the project as many times as you'd like.
Class Printable Pack Includes:
Class syllabus with detailed recipe guide
Full color project sample
Guide to Copic base
Detailed color map
Project inspiration references

