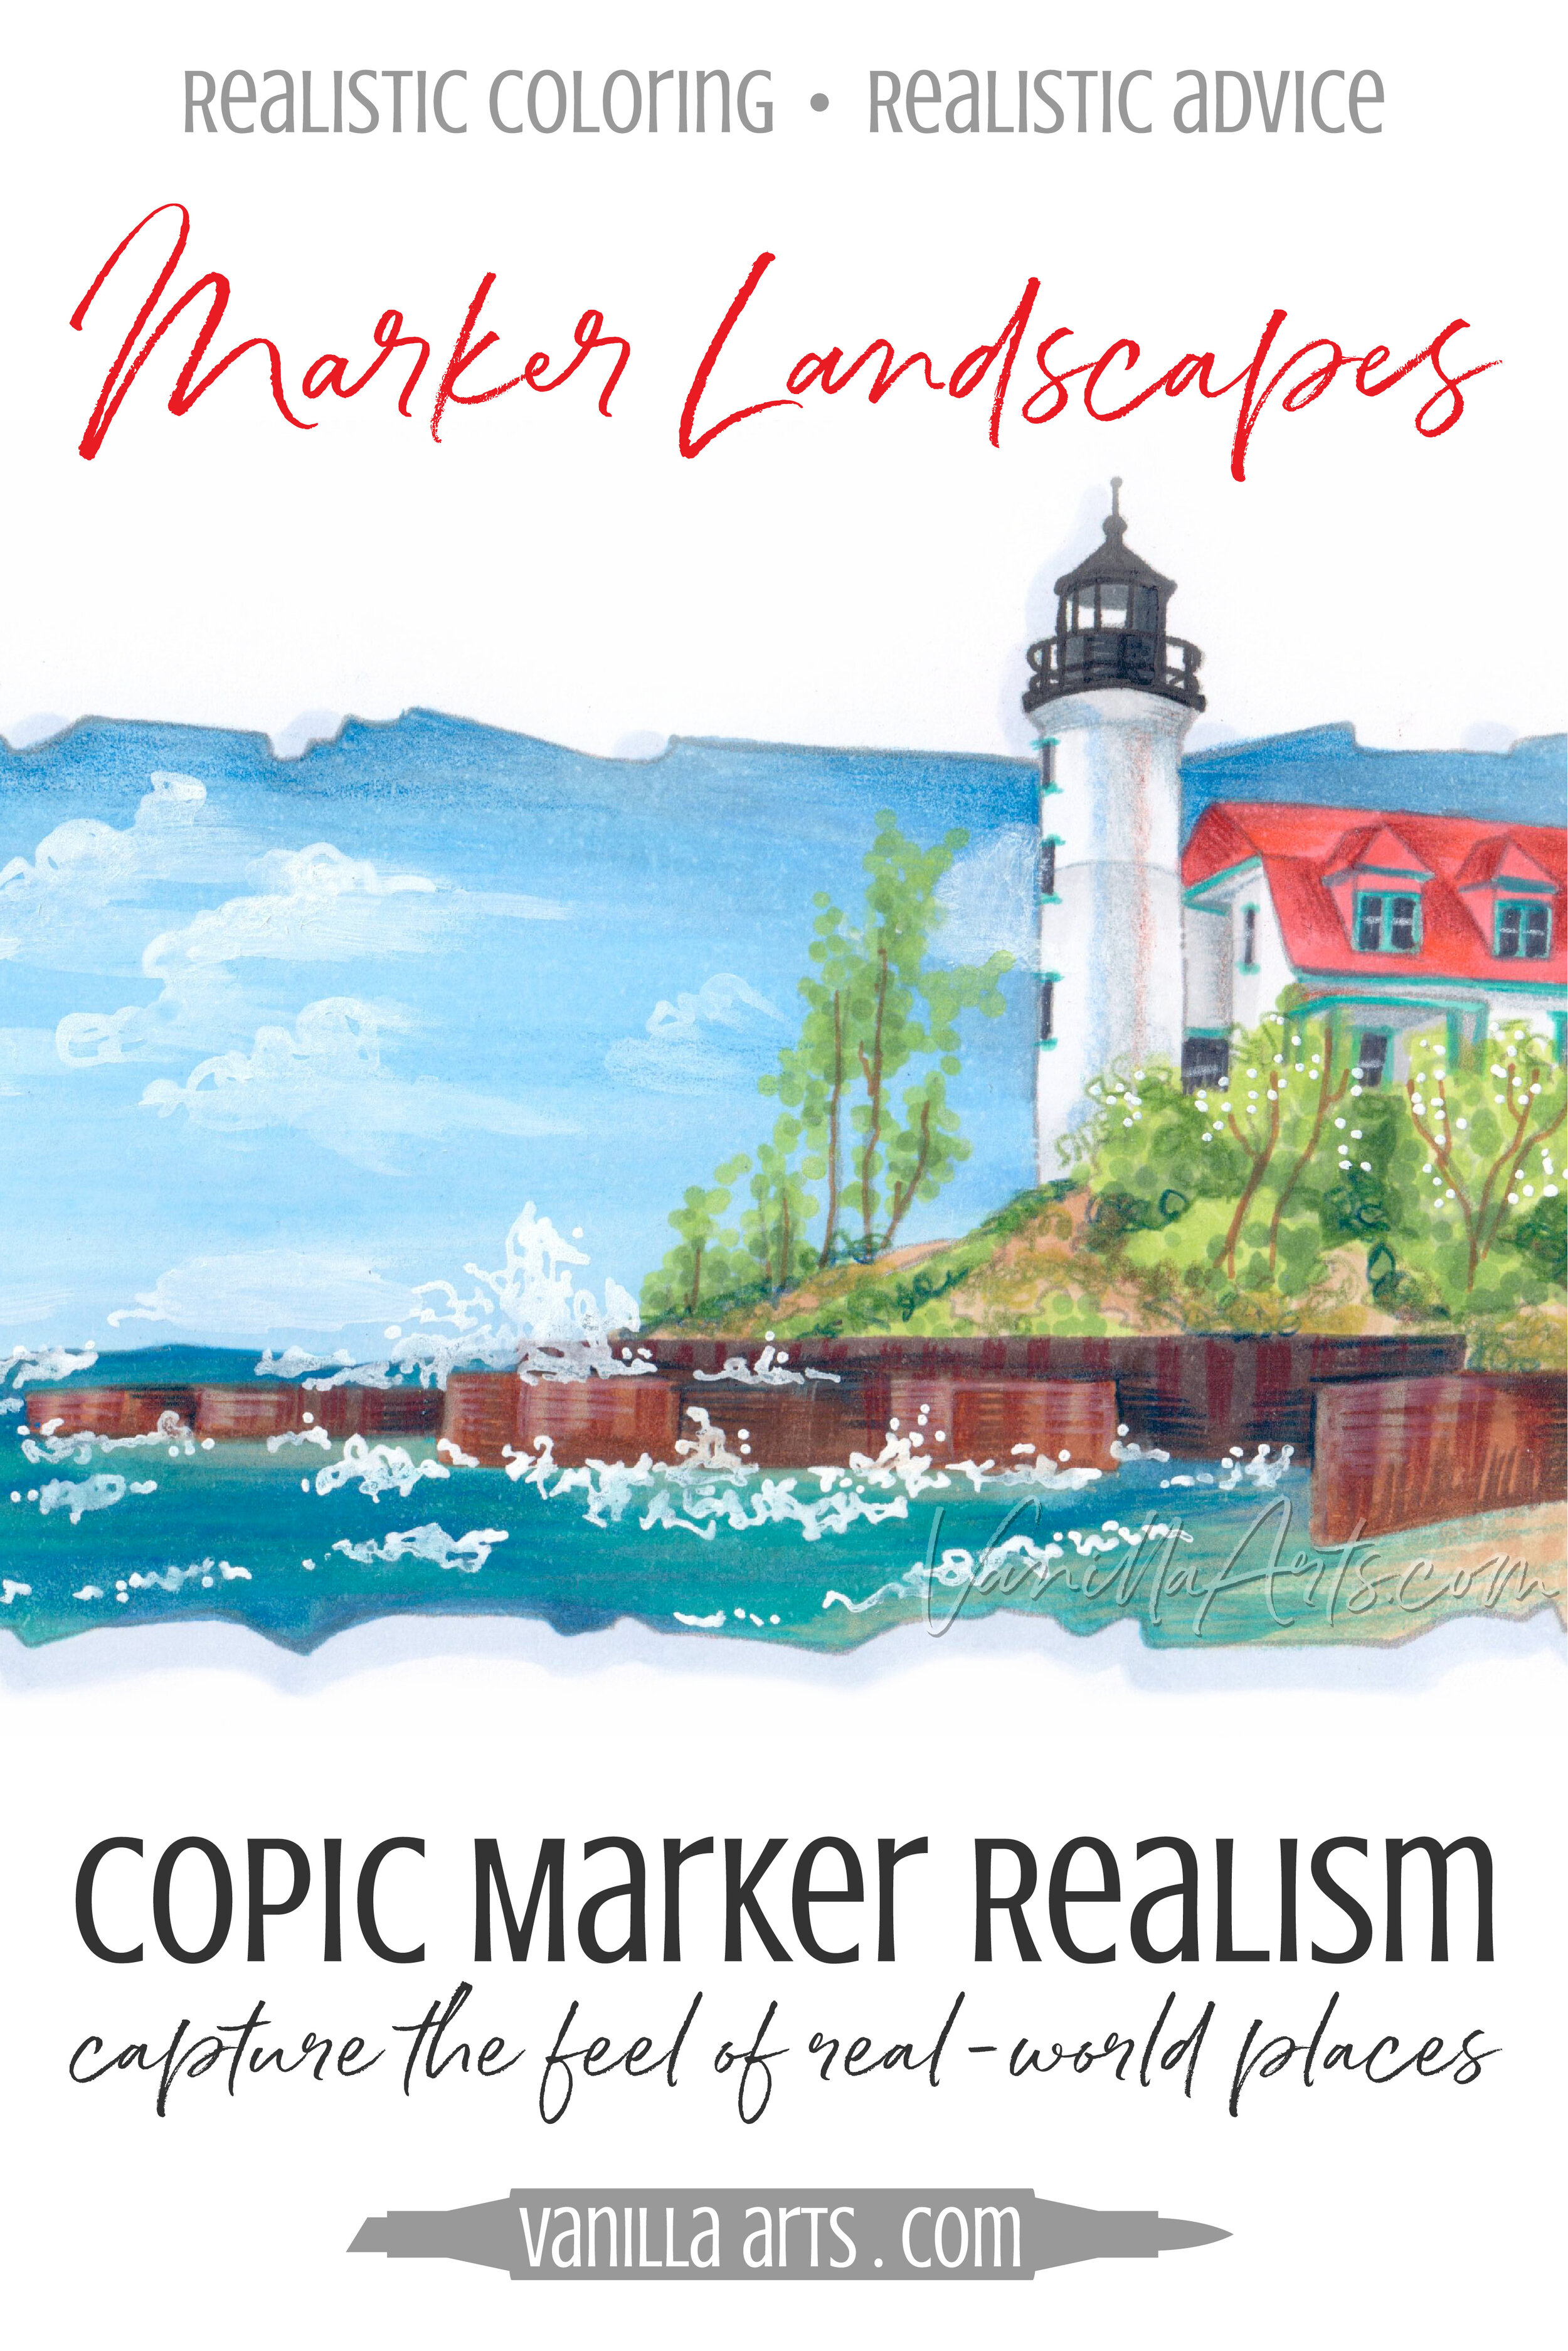
Realistic Landscapes with Copic Marker & Colored Pencil

 
Get your FREE copy of the "Point Betsie" digital stamp in August 2017. Join the Free Digi Club for a new stamp every month! | VanillaArts.com


A Lake Michigan Vacation!

"Point Betsie" is a Marker Painting Workshop that introduces you to coloring realistic landscapes.

Marker Painting Workshops are NON-SEQUENTIAL!

All of my Workshop classes are ANYTIME ACCESS. Work at your own pace and repeat the project as many times as you'd like.

Get your FREE copy of the "Point Betsie" digital stamp in August 2017. Join the Free Digi Club for a new stamp every month! | VanillaArts.com

The Point Betise digital stamp is included with class purchase! My digital stamps are ideal for Copic marker coloring but they also work great with colored pencil and even watercolor. My stamps are full of wide open spaces to blend and celebrate pretty color. There are no distracting texture marks to get in the way of your creativity!

That's what the "Vanilla" in Vanilla Arts Co. is all about. I give you the vanilla base, you add the hot fudge, the sprinkles, the whipped cream, and the Copic ink!


Point Betsie is a real place!

Located along the shores of Lake Michigan, just outside of the town of Frankfort, Point Betsie is the warning signal that northward boats are about to encounter the shifting sands of the Sleeping Bear Dunes and the Manitou Islands.

Northern Michigan is gorgeous and Point Betsie is a point of pride for those of us with roots there.


Point Betsie

 Join me for a fun Copic Marker + Colored Pencil lesson in the Vanilla Workshop

Point Betsie is an intermediate skills class, that introduces you to coloring realistic landscapes

Learn to incorporate real artistry into your coloring projects, one concept at a time. Every Workshop details a new method for enhancing realism, depth, and dimension.

Each class stands on its own as independent learning. You don't have to take six of my other classes to understand this lesson.

Workshops are NON-SEQUENTIAL!

All of my Workshop classes are ANYTIME ACCESS. Work at your own pace and repeat the project as many times as you'd like.

Come color with me. It's a ton of fun!

Class Printable Pack Includes: 

  • Class syllabus with detailed recipe guide

  • Full color project sample

  • Guide to Copic base

  • Detailed color map

  • Project inspiration references


If youā€™re looking for the Free Digi Club, the program has been discontinued.

You can check out the many free resources at VanillaArts.com which include the Studio Journal Article Archives, Vanilla Beans, YouTube (demonstrations & tips), Computer for Colorers, Undercover Swatches and Instagram for Works in Progress.


"Big Sable Point" a digital stamp by Amy Shulke of VanillaArts.com. Learn to color landscapes using Copic marker, colored pencils, and a dash of point. | VanillaArts.com

Point Betsie has a companion Class!

If you enjoy coloring Point Betsie, be sure to check out my other Lake Michigan lighthouse workshop, Big Sable Point.

I've had so much fun drawing these stamps and creating these classes that I hope to make an entire series of Great Lakes lighthouses.

Both stamps use the same techniques and very similar supply lists. 


Copic Marker & colored pencil: "Fair Isle Stocking"

 
"Fair Isle Stocking" a Copic and colored pencil coloring lesson for intermediate + students. | VanillaArts.com


Texture, texture, texture...

"Fair Isle Stocking" a Copic and colored pencil coloring lesson for intermediate + students. | VanillaArts.com

Fair isle stocking

Most crafters love the smooth blending effects that Copic Markers offer.

But life is full of texture. The first step to adding realism to your images is to admit that smooth blending is not appropriate for every single stamp image you color. Real life is full of lumpy, bumpy, and craggy surfaces.

Knit objects are one of those stamps that look so much better with texture. 

Fair Isle Stocking was a class offered to my live class students in December 2016.


Copic Marker: Food & Photo Realism

 
Art of Coloring- Intermediate level Copic Marker class. Learn to use photo references to add depth and realism. | VanillaArts.com


Food & Photo Realism

Food illustrations are pretty trendy on the internet now... maybe we're all looking for a little calorie free comfort food?

This time, we'll be studying our photo reference to color white frosting accurately. White isn't white, so we'll discuss my philosophy behind choosing colors for white food (as opposed to coloring non-food white items).

Join us for art based coloring lessons. You'll love the students and the challenge!

"Christmas Cake" an Intermediate/Advanced Copic coloring class by Amy Shulke. Art of Coloring lesson on Food & Photorealism. | VanillaArts.com

Wednesday, Nov 16th 2016 from 1 to 3:30pm

Thursday, Nov 17th 2016 from 6 to 8:30pm

Remember When Scrapbooking in Macomb Township, Michigan. Seats are limited so call to RSVP

Lesson: Food & Photo Realism

Image: "Christmas Cake" by Vanilla Arts Co.*

* Yes, I know it's a plum pudding, not a cake. But when Americans think "pudding" we think boxes of instant custard like stuff.

How Important is a Pencil Sharpener?

 
Pencil sharpeners are important when working with colored pencils. Amy shares why a sharp pencil is one of the keys to making your coloring easier, and more enjoyable. | VanillaArts.com | #coloredpencil #realisticcoloring #howtocolor


Letā€™s talk about Pencil Sharpeners!

Oh, noā€¦ that might be a sticky conversation. The three topics of conversation to avoid at your next dinner party are: religion, politics, and the best way to sharpen a pencil

At least when dining with artists.

You think I'm joking, but I've seen a woman brought to tears over the subject. Not kidding. People have some seriously strong feelings about this.

And the rest of you are sitting there wondering what the heck I'm talking about...

Pencils are an important tool of the trade. Actually, "important" doesn't begin to cover it. Pencils are absolutely vital to art.

And behind every good pencil, there's a good pencil sharpener.

(Yes, even mechanical or wood-less pencil mavens shape their leads to a preferred point.)


There are three major schools of pencil sharpener philosophy:

Best pencil sharpening methods | VanillaArts.com

Top to bottom:

  1. Prismacolor sharpened with the Prismacolor brand HAND-HELD PRISM STYLE SHARPENER

  2. Prismacolor sharpened with an ELECTRIC, ROTATING SPIRAL BLADE SHARPENER

  3. Charcoal pencil HAND SHARPENED WITH A BLADE OR KNIFE

Where an artist comes down in the Great Sharpener Debate usually has a lot to do with their training. That drags emotional baggage into the discussion because we all secretly think we're the only ones to receive a proper education. After all, the rest of the field is filled with dithering idiots, right?

But this debate leaves the crafters of the world completely befuddled because they're surrounded by teachers, magazine tutorials, and craft show experts who are all dispensing completely contradictory information.

Use electrical! NO! Use a hand held! NO, THAT'S NOT RIGHT! You'll only get good results from a razor blade!

Because I work with beginners (and also a lot of derailed artists looking to get back into the groove), I get asked the pencil sharpener question. A lot.

And I always answer the question with a very firm...

Well, it kinda depends.

Flag FC.jpg

 I know. My answer is complete mush. But hear me out, the correct answer depends entirely upon what you are trying to accomplish and what materials you are using.

I use the sharpener that works best for me. I've tried several methods and a ton of tools, and after 25 years, I know what works for the work I do.

There's really no point in jello wrestling over this. What sings for me on small scale items will not work for let's say, a muralist. And neither of our methods may be right for you.

So for you, it does no good to ask just any random artist "what's the best pencil sharpener?" You need to narrow your inquiries to only those artists working in your same medium and who are producing the same stroke quality you desire to imitate.

How did you sharpen your pencil to make this mark? And then point to the area you're interested in. That's the correct question


There is not one correct answer- Be willing to test new methods

My primary mentor hand-sharpened all his pencils with a box cutter blade and made us do the same. Hand sharpening has its place- the charcoal pencil shown above is the pencil I use every Wednesday for life drawing class and I always use a blade on it.

But that same blade method produces a completely awful point on Prismacolor pencils.. Why spend 3-5 minutes doing it old school if the tip is inferior to 20 seconds in an electric or hand sharpener? It is an improper use of my time to whittle colored pencil leads for my high detail projects


As a teacher, the best thing I can do is present the various methods which may work for your situation.

What kills me is when a student is clearly having problems and yet ignores my solution because a mentor sold them on a different pencil sharpener.

And I've had more than one student prance into class with their Michael's recommended, Prismacolor certified pencil sharpener- a sharpener that yields a blunt and soft tip that is completely inappropriate to the method I teach.

Yes, I understand that the word on the street is that the Prismacolor sharpener is the only one suitable for sharpening PC pencils- that it saves lead, money, and frustration. Everyone should own two and use them every darned day.

To which I say "pfffttt, maybe"

But if a student is looking to duplicate my stroke quality, they're never gonna get it with that sharpener. Never. Never, never, never. You'd have a better chance at mimicking me with a hand bladed pencil lead than using the Prismacolor sharpener.


Why I use what I use

Four Girls FC 2 h2o.jpg

Let's stipulate my parameters first: I do large areas and backgrounds with Copic marker and I do the super-fine detail work with colored pencil. I use cross hatching to build up layers of visible strokes rather than soft-blending. I never use solvents.

Because of this, I require a super fine tip that retains a point for as long as possible. Blunt tips are pretty useless to me and my stroke quality noticeably degrades as the point disappears.

To get a fine point that lasts as long as possible, I use an electric sharpener that gives me a long narrow taper. I had a plug-in heavy duty Boston Electric desk model which my cat killed in April. Apparently, it was in the way during a nap emergency. I'm now researching a replacement plug-in model and it looks like Boston Electric was bought-out by X-acto which has poorer quality ratings.

Until I replace the desk version, I'm using the cheapo yet portable battery sharpener which I take to classes, an Omnitech model made for Staples Office Supply stores. I've had it about 6 years and it still sharpens just fine. It's loud and cheap and at a $7 price point, I'll be the quality control isn't great. But my little guy doesn't eat batteries too fast, and if I ignore the obnoxious color, it's really not too bad. 

Plus, the darned thing won't die. Best $7 investment, ever!

As you can see, the brand, price, and color are not my main focus when selecting a sharpener. I look for two features:

  • Long narrow taper on the point

  • Point-trigger feature that prevents oversharpening

The objection to electrical sharpeners is that you waste pencil lead. And while that may have once been true back in maybe 1962, it's not really a problem today. Even my cheapie has a trigger button inside that stops the blade from rotating after the pencil has been fully sharpened. You simply can't sharpen a pencil for 2 hours straight if it has that stop-button safety feature.

In fact, I had one student vehemently object to my not using a prism sharpener due to lead wastage. So I showed her my Omnitech which had about a weeks worth of shavings in it and we compared that to the pile of woodchips that she'd generated in 1 hour of class time... there was no comparison. I was clearly wasting less wood because my sharpener knew exactly when to quit.


My Goal: A long, narrow point

I'll use any sharpener that gives me that long length of pencil lead.

One, because I want to leave a fine line but two, I don't want to sharpen as often.

Here's an enlargement of my sharpened pencils. The left is my Omnitech cheapo and the right is the premium Prismacolor hand held.

Assume that we both take 10 strokes to wear down our leads to the orange line. Look at the difference in diameter! One can go longer between sharpenings with a long taper tip because it stays thinner longer.

Yes, I know. Prismacolor does tend to break more often with a long taper but here's the thing I've noticed: when it does break, there tends to be a sharp edge left that I can use for about a dozen strokes before I have to sharpen.

In my classes, most of the time when a student is having difficulty, it's in large part due to a dull lead. I've noticed that they make a stroke, it doesn't look quite right so they put a new stroke on top of it, and then another and another and another. If they'd just sharpen, they'd get the stroke right the first time instead of overworking the area.

Ultimately, what good is all that saved pencil lead if you never learn to do a technique properly? Even worse, you pay for it emotionally when your results don't match up with the teacher or your neighbor's. The cost of a colored pencil is minimal compared to the price you pay in confidence and self esteem.


I also use blunt tipped pencils

Sometimes the situation does call for a smoother blend with no visible strokes. Like backgrounds or on faces- places were I want to hide my lines.

Remember, different situations call for different techniques. Good artists are chameleons and will adjust their technique to get the best results.

What do I do when I need a soft blunt tip?

Peach is a color that I use for both soft and hard strokes. So I have two peach pencils, one usually has a fresh point on it and the other is dull. I have about 6 colors that I keep two versions of

  • peach

  • light peach

  • white

  • indigo

  • dark green

  • tuscan red

I'm not suggesting that you do a Noah and keep two of everything in the ark, but if you find yourself constantly scribbling on scrap paper to wear down a point, you might want to keep a second of that color handy and dull.


Worried about wasting lead?

Want to know what really, really, really extends the life of your pencils, no matter what sharpener you own?

Pencil extenders. They come in all sorts of varieties (some are far more comfortable than others) but they all add about 4-5 inches of handle to short pencils.

I own fourteen.

They work best when the pencils are 2-3 inches long, longer than that and they try to bend under firm pressure.

I regularly use my pencils down to nubby stubs. My record is just under 1 inch long and I had to quit because there wasn't enough pencil to grip while sharpening.

That same student who chided me for wasting lead in an electric sharpener was throwing away all pencils shorter than 4 inches long.

Hmmm... who wastes lead???


It's never a cut & dried answer

You need to evaluate the way you use your pencil and choose the sharpener that gives you the desired point.

If you do soft circular strokes with your colored pencil, my long narrow point is not going to work. You're much better off with a sharp knife and an altoid tin to catch the shavings.

If you're afraid of blades, then try the shallow prism sharpeners.

The point is that anyone who emphatically insists that Brand X sharpener is the only sharpener for all of mankind is wrong.

And frankly, I'd question their judgement on more than just sharpeners.


Find recommendations from artists that you admire

What's the best sharpener for art pencils?

The winner of your tests. The best sharpener is the one that works for you.


VanillaArts.com
 

For specific information on long-point sharpeners, you can check out this article:


Imikas Sharpener.jpg

December 2017: I never did purchase a big electric plug-in sharpener.

That ugly Ominitech battery powered sharpener is still going strong. I'll use it until it dies.

I've also found the same sharpener in a tasteful black! 

Everything about the Imikas sharpener is the same as my trusty old ugly Omintech. EVERYTHING, right down to the lettering imprinted on the battery closure and the waffle grooves on the rubber feet.

41InQleibJL._AC_US436_QL65_.jpg

Now I have an ugly sharpener for home use and the sedate black one travels to classes with me.

February 2019: The Imikas sharpener from 2017 pictured at left is no longer reliably available on Amazon.

There is a newer version (see link below) that still gives great results. Use the sharpest setting to get the kind of point I recommend in this article.

Note: Neither of the Imikas versions nor the original Omnitech can be considered ā€œluxuryā€ sharpeners. Theyā€™re inexpensive BUT they still should work smoothly. I have one student who purchased the 2017 version which worked really slowly, despite fresh batteries. That is NOT normal! She returned the sharpener and the replacement is still working fine.


I also have a favorite hand-held sharpener-

Kum sharpener.jpg

The KUM AS2 Long Point sharpener goes with me everywhere. Like the Imikas, it's very reasonably priced (under $10 USD) which is cheap enough to own several.

I have one in my class supply bag. I have one in my watercolor travel kit. I have on in my colored pencil kit. I have two more in my desk drawer just waiting to go on an adventure. 

By the way, there are two similar sharpeners by KUM. The AS2M is blue instead of red and has a lead pointer on the side. I never use the pointer. It's the same exact sharpener otherwise. I would not pay more for the blue AS2M version.

The Palomino Blackwing edition of the KUM is an AS2 (red), this time you're paying more for black plastic to match your Blackwing pencils. Here's a crazy thought- buy the red sharpener and use the savings to purchase two Blackwing pencils!

Here's a link to the KUM at Amazon (affiliate link):

I will admit, I like the Imikas/Omnitech sharpener better than the KUM but the KUM is still spectacular and gets an A+ from me.

Why do I favor the Imikas? It's a minor thing. The KUM gives you a slightly longer point than the Imikas which might be too much of a good thing. The KUM point is just a smidgen too long for Prismacolor Premier pencils to handle. If I sharpen in the KUM, I inevitably break off a teeny-tiny bit of the point on the first stroke... but it's less than 1mm loss, nothing to cry over.

It's easy to solve the KUM problem by not sharpening to the extreme limit. But with the Imikas, I don't have to think and plan to pull out early. So a slight edge goes to the Imikas but not by much.