Head to Head: Blending Cardstocks- Cryogen versus X-Press It

 
Testing Blending Cardstocks- Cryogen vs XPress It | VanillaArts.com | #coloredpencil #howtocolor #realisticcoloring


Nobody rides a bicycle on the beach...

Bikes are great; you can go a lot of places on a bicycle.

But if you're sunning your buns at one end of the beach and the daiquiri bar is way the heck down at the other end... it's highly unlikely that you're going to use peddle power to cross a mile of sugar sand beach.

Bicycles don't work very well in the desert; they're not so great underwater and I'd hate to be left with only a bike during a Michigan January.

Now I'm not beating up on bikes and bicycle enthusiasts. I love my bike.

But only an idiot tries to use a bike in a snowstorm. It simply isn't designed to do what you're asking it to do.


Smart people match the tool to the task

That includes paper.

Especially when you're working with Copics and colored pencil. Trying to blend alcohol markers on a dollar store drawing pad is like trying to peddle your way down Daytona Beach.

You're not using the right tool to facilitate good blending.

Sadly, Cryogen went out of business in 2022. I’m keeping this article published as an example of what to look for in good marker paper and how to test paper on your own.


For years, I've used x-press it blending card 

Not just faithfully, I've used it exclusively. 

For my style of marker painting, it simply works best.

Ink stays wet on the surface of X-Press It paper slightly longer than with other blending cardstocks. That extra wet-time allows for better blending. I see significant improvement when I move students from their preferred paper to X-Press It.


But X-Press It has one major drawback

I combine marker with colored pencil. The combination of wet and dry gives me more depth, texture, and mark versatility than is possible with just marker alone. 

I love my X-Press It. The problem is that X-PI is everything a colored pencil paper should not be.

X-Press It is super slick with a slightly resistant surface. Way smoother than hot press, it's Bing Crosby driving a Zamboni eating butter kind of smooth.

Meanwhile colored pencil likes things gritty. Artists call it tooth; a good colored pencil paper has tiny jags and crevices which grab hold and collect pencil pigment as you color.

X-Press It cardstock is as toothless as the starting line-up for the 1972 Red Wings. Trying to color with colored pencil on X-PI is like spreading grape jelly onto a greased pig. About 70% of what you lay down ain't gonna stick.

So not to make light of Sophie's Choice, but at the start of every project, I'm usually standing at the train station trying to pick between X-Press It for Markers or Vellum Bristol for colored pencil.


Then I rediscovered Cryogen

A student once handed me some sheets of "sparkle paper" in class. I'm always up for trying a new paper, but she presented it as a marker paper, something another Copic instructor had recommended.

It was a nice cardstock, smooth with an interesting pearly flake embedded in the pulp. I made a few test swatches and no angelic chorus descended from the heavens. I decided I liked X-Press It better and filed the Cryogen away in my drawer of assorted paper.

Time passed.

I cleaned out that drawer last month and came across some unmarked sheets of cardstock. As I'm mentally berating the wheel running hamster who lives in my head for not labeling the paper... my fingers... they were feeling the paper. I was actually petting the paper.

 
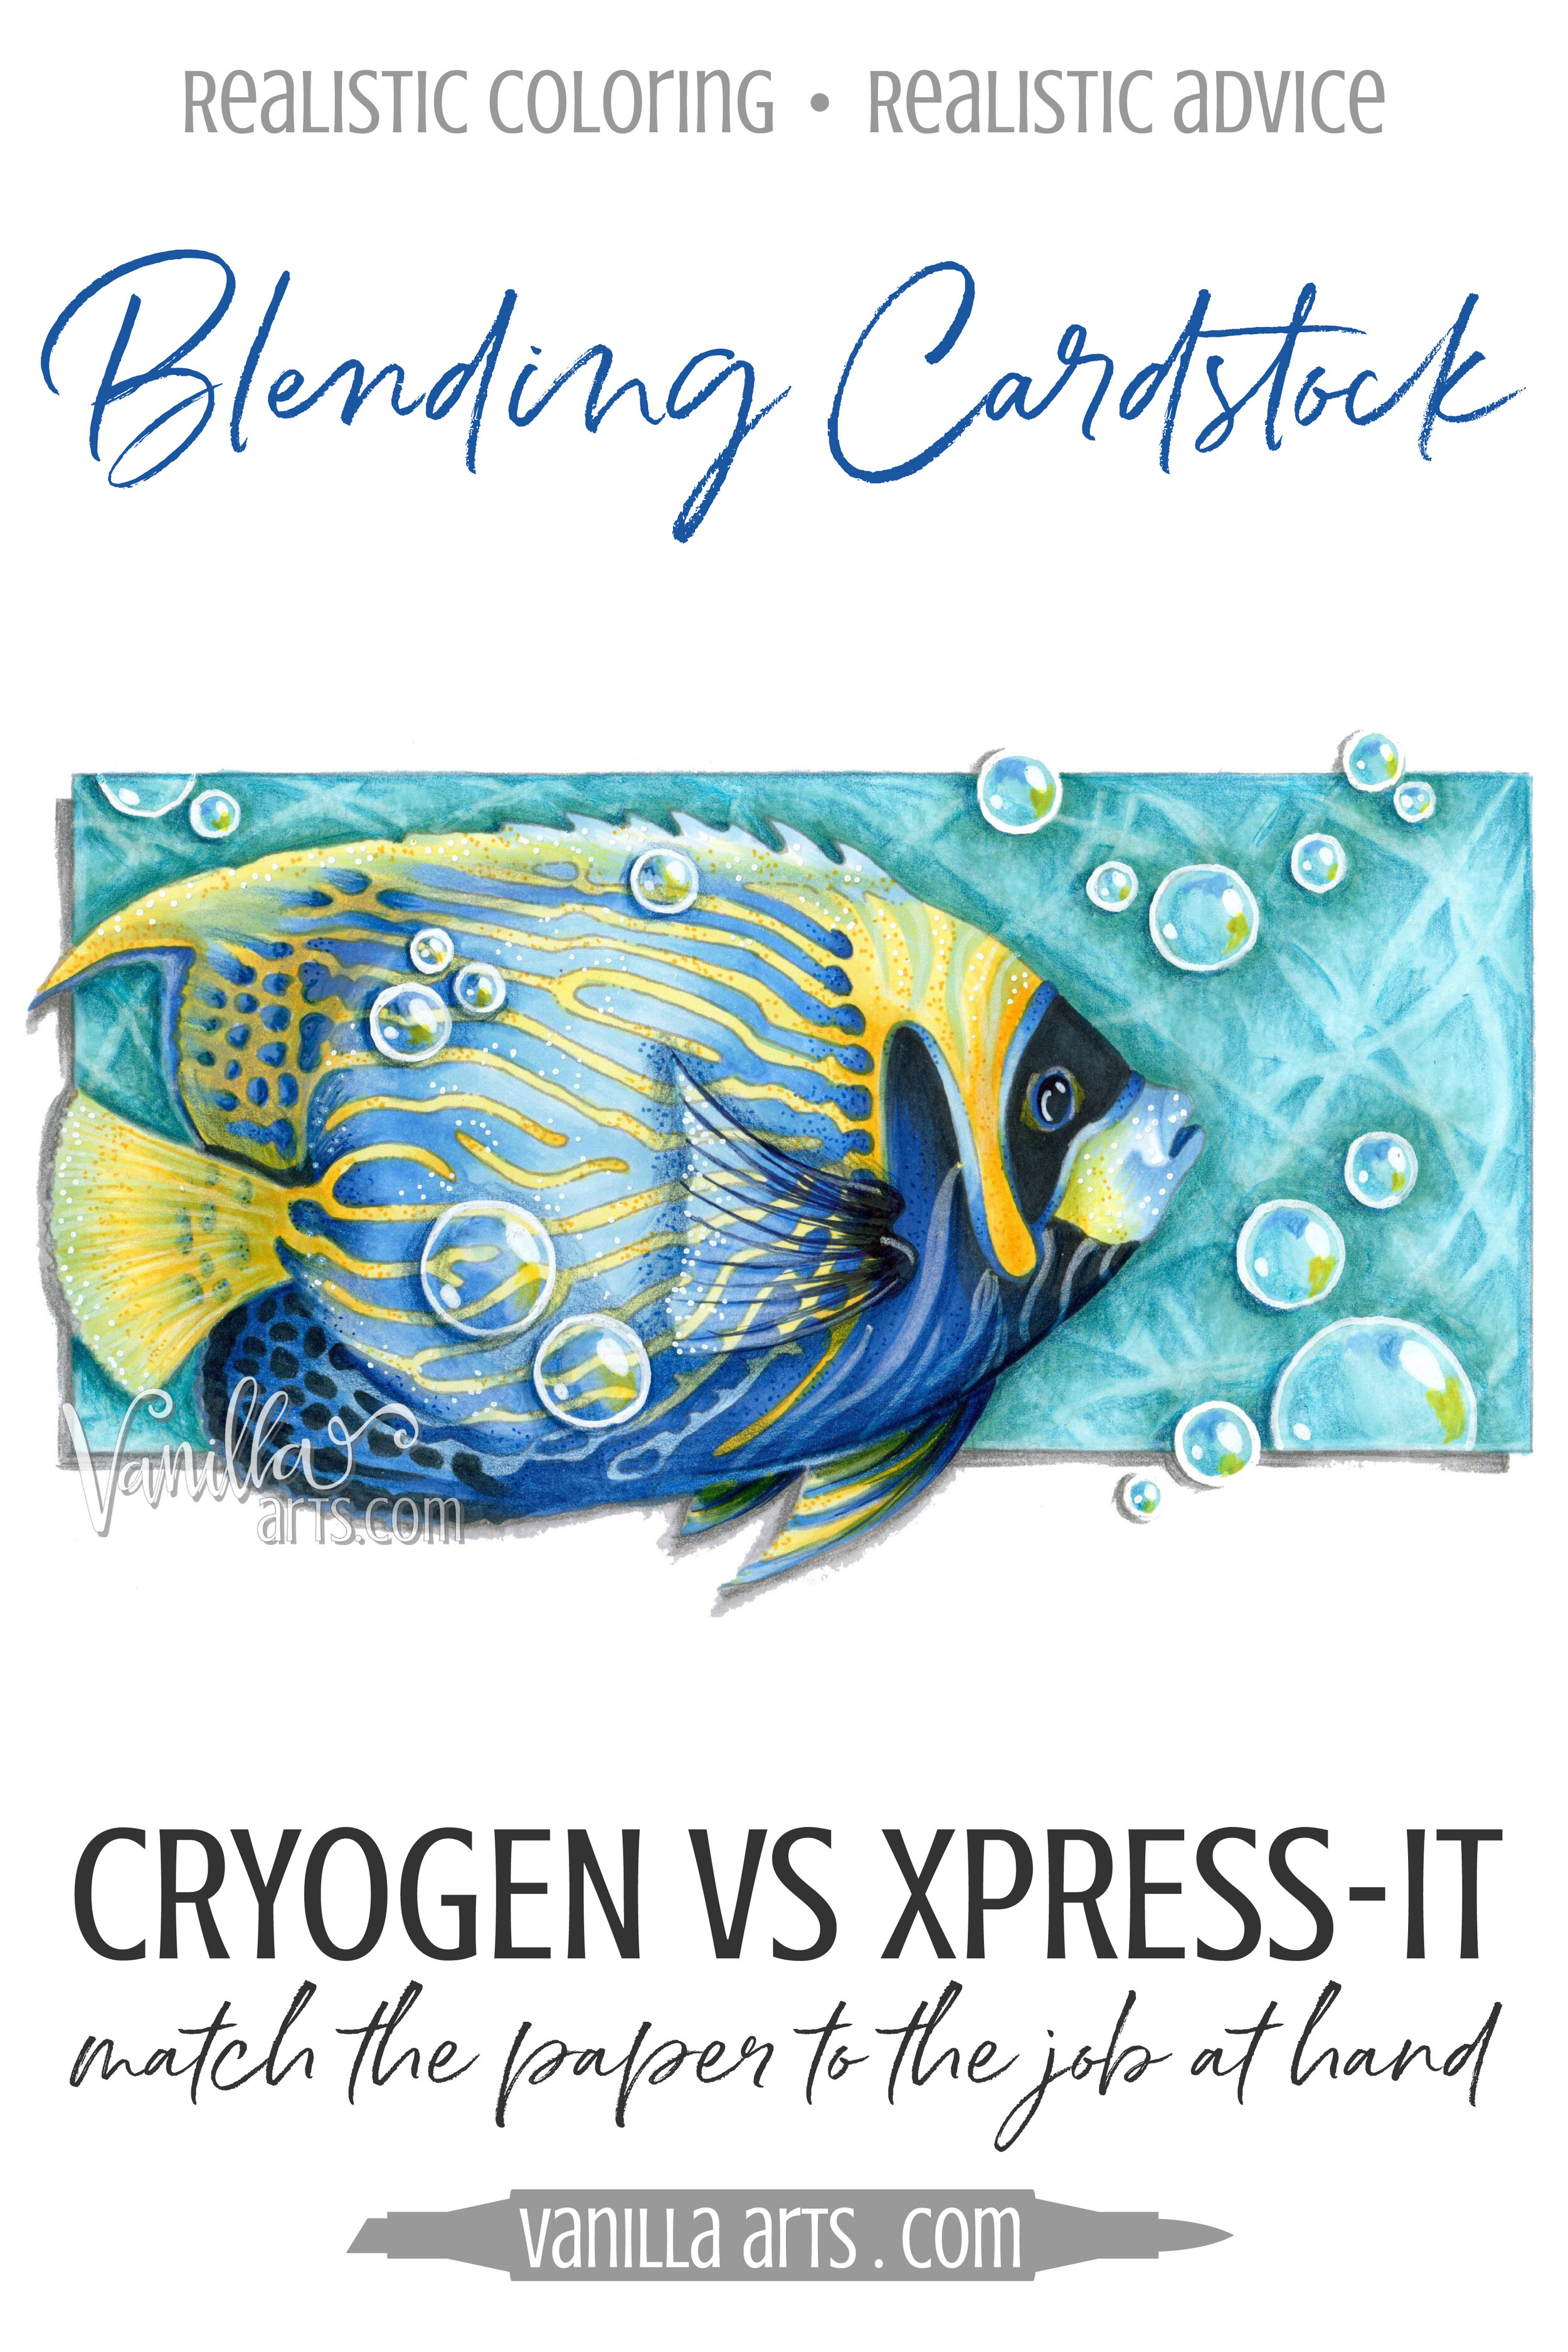
Cryogen vs XPress It head to head | VanillaArts.com
 

And the hamster started dancing

He danced and sang because we were petting a marker cardstock with a bit of tooth.

Holy Grail anyone?

I've been playing with sparkle paper Cryogen recently. I'm pretty pleased.

I wouldn't say Cryogen White is the answer to ALL my problems but it does get the Nazi off my back. Here's what I've found.


X-Press It- a superior marker blending card

  • Full Name: X-Press It Blending Card

  • Surface: ultra hot-press, feels coated but isn't

  • Color: bright white

  • Weight: about 110 lbs.

  • Tooth: very little

  • Thirst: coats well on first pass, no excessive ink usage

  • Alcohol Ink Blendability: extended wet-time makes for easy and amazing blends

  • Vividness: colors are bold, no visible changes upon drying.

  • Bleed (ink pulled by paper fibers beyond stamp lines): hardly noticeable

  • Leak-through (to back of paper): only after 3 coats

  • Water Damage: exposure to water will damage paper irreparably. Surface will buckle, then separate from core, can peel off.

  • Colored Pencil: accepts a first coat with a sharp pencil. Hard to layer or blend, must press harder than normal to collect color. Color can smear.

 
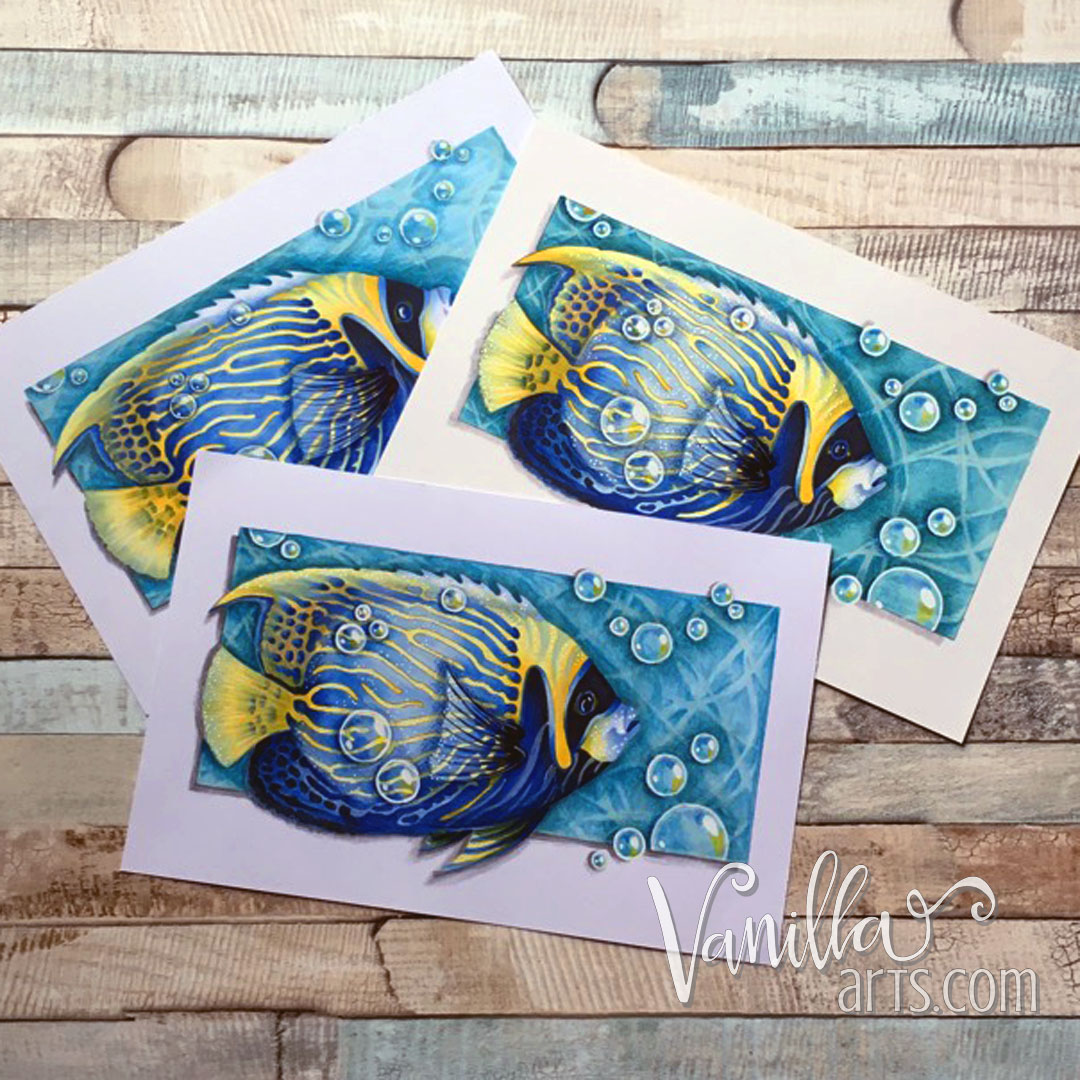
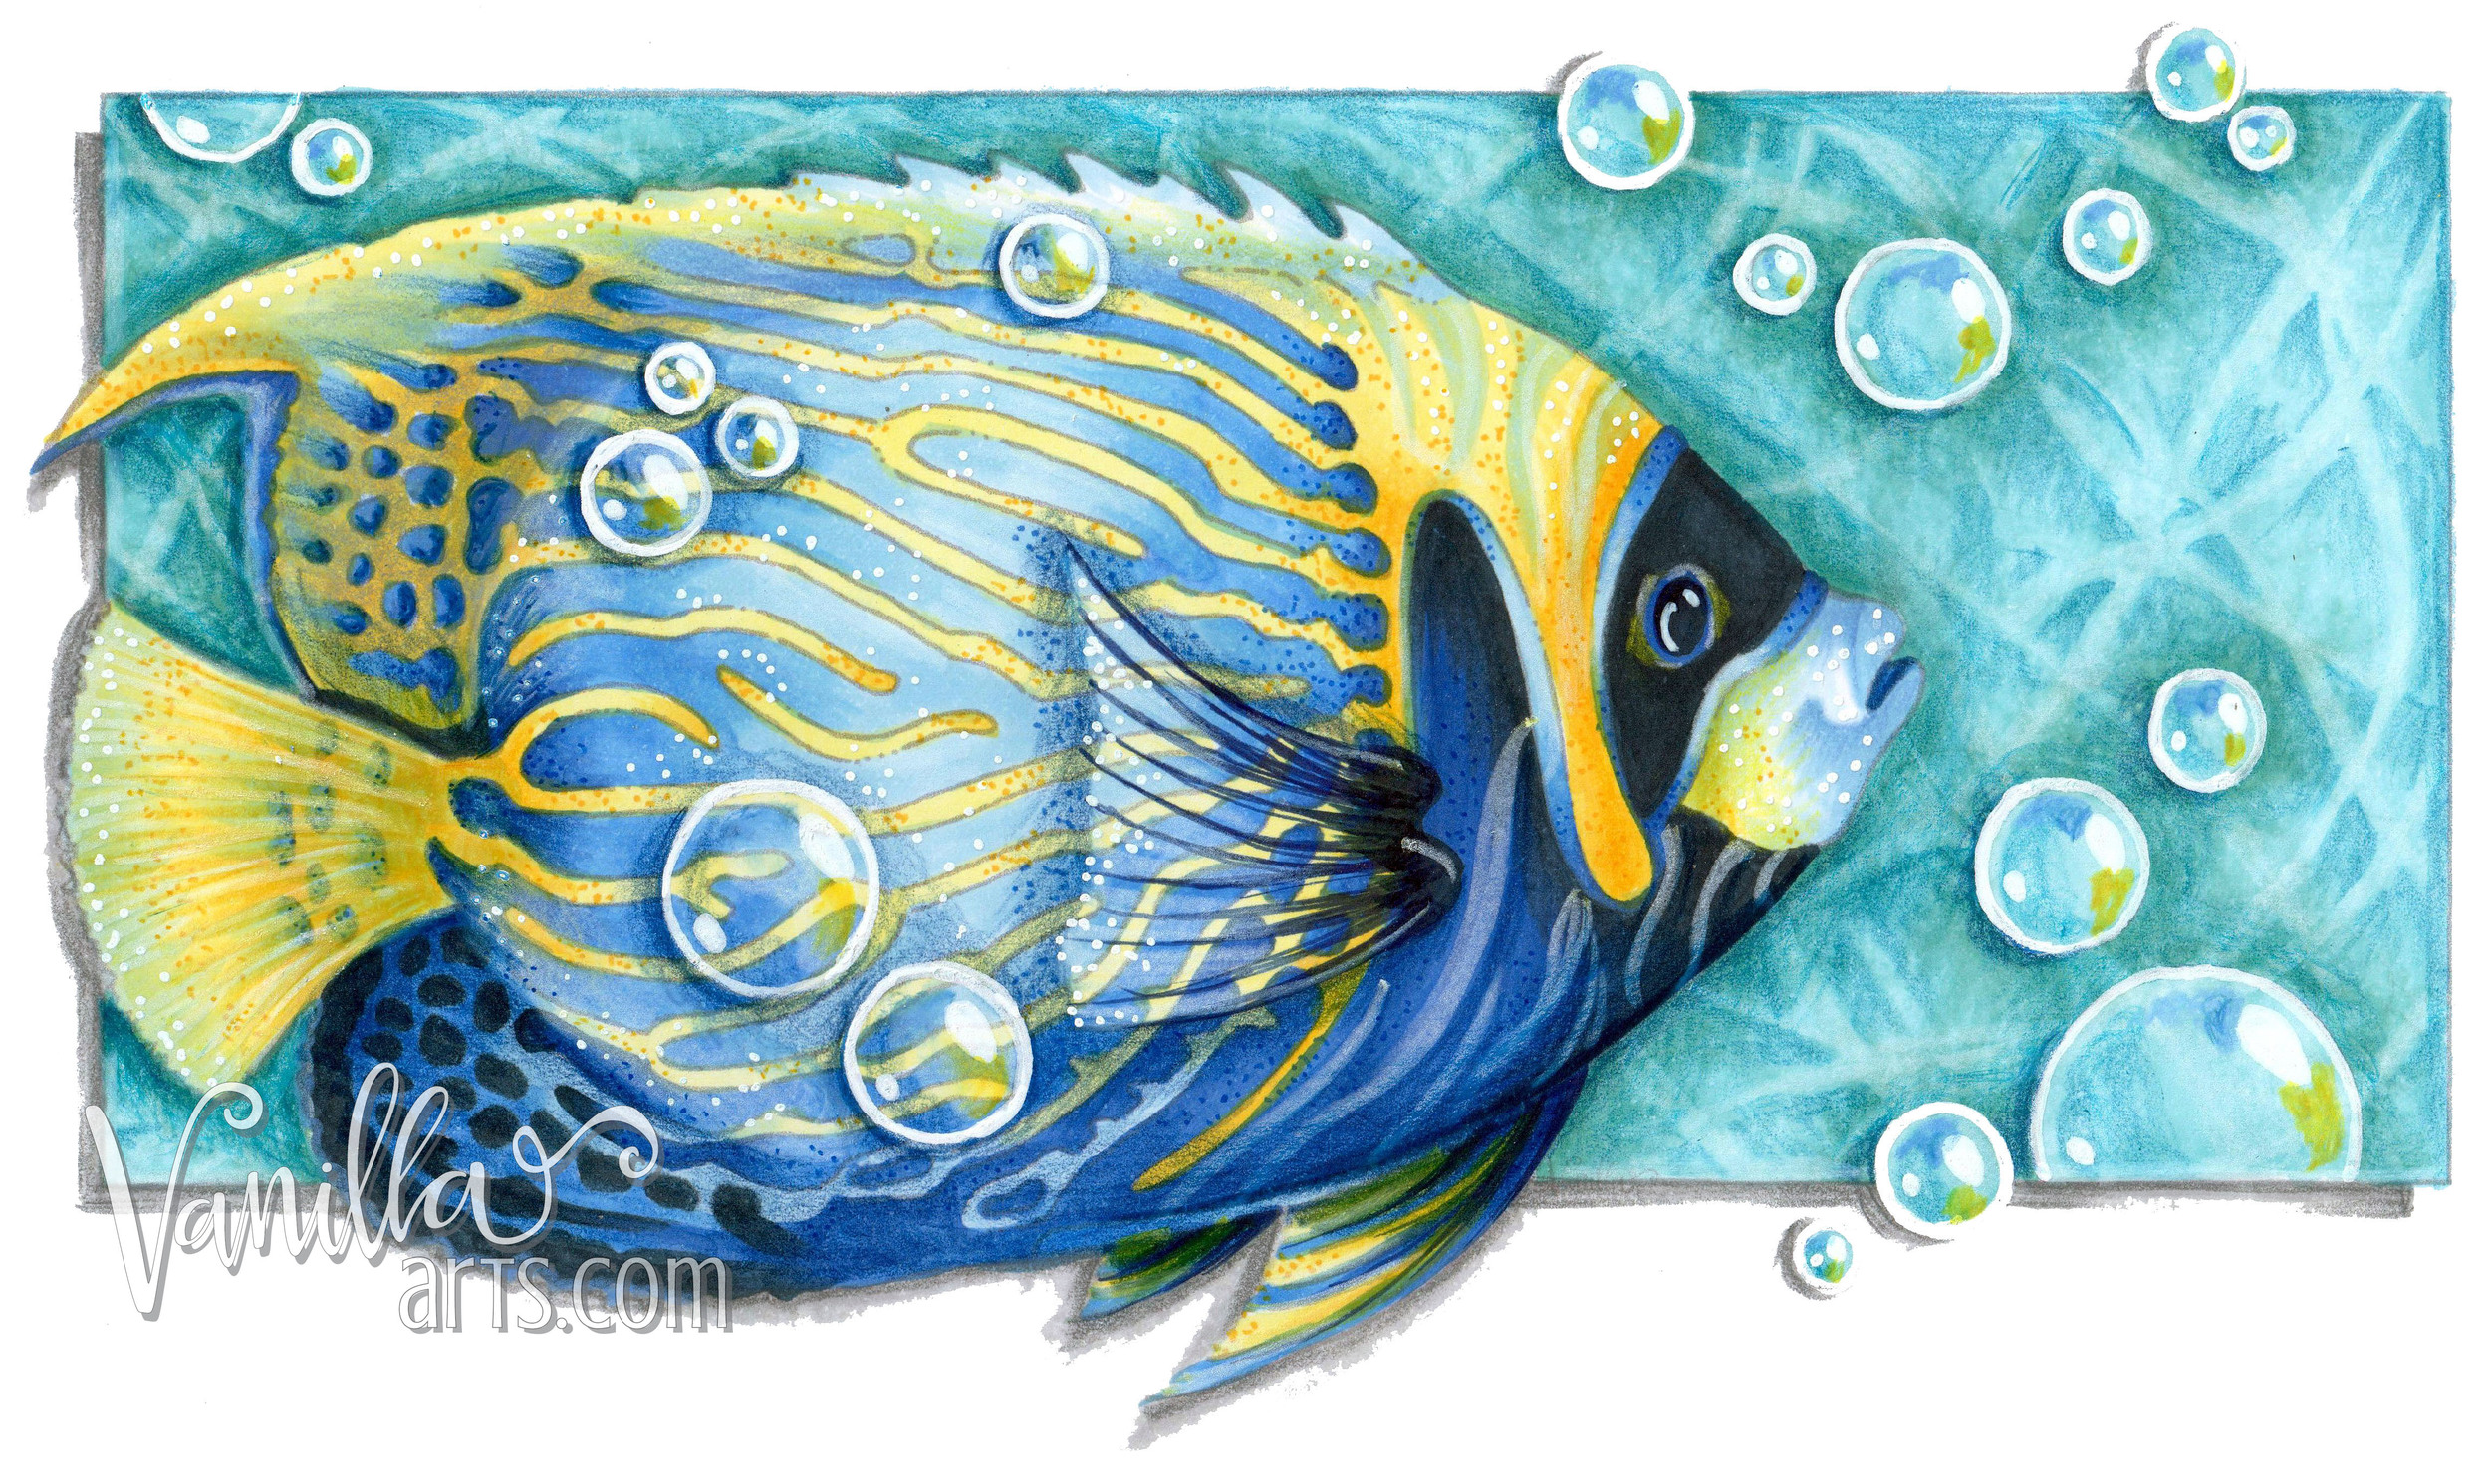
"Go Fish" colored on X-Press It Blending Card | VanillaArts.com
 

Cryogen- a balanced all purpose cardstock

  • Full Name: Cryogen Curious Metallics

  • Surface: hot-press

  • Color: "white" but is actually a creamy, yellow tinged white

  • Weight: 89 lbs.

  • Tooth: light tooth

  • Thirst: coats well on first pass, draws more ink than X-Press It

  • Alcohol Ink Blendability: moderate, some strokes remain visible after second pass.

  • Vividness: some colors mute slightly as they dry.

  • Bleed (ink pulled by paper fibers beyond stamp lines): light bleed but controllable

  • Leak-through (to back of paper): after 2nd coat

  • Water Damage: a light spray did not affect paper. A good soaking caused buckling and slight swelling. Swelling disappeared when dry but buckle remained. No peeling or bubbling.

  • Colored Pencil: accepts 2-3 coats of colored pencil, waxy pencils blended well. Easy to color softly with no visible stroke lines.

 
"Go Fish" Colored on Cryogen White | VanillaArts.com
 

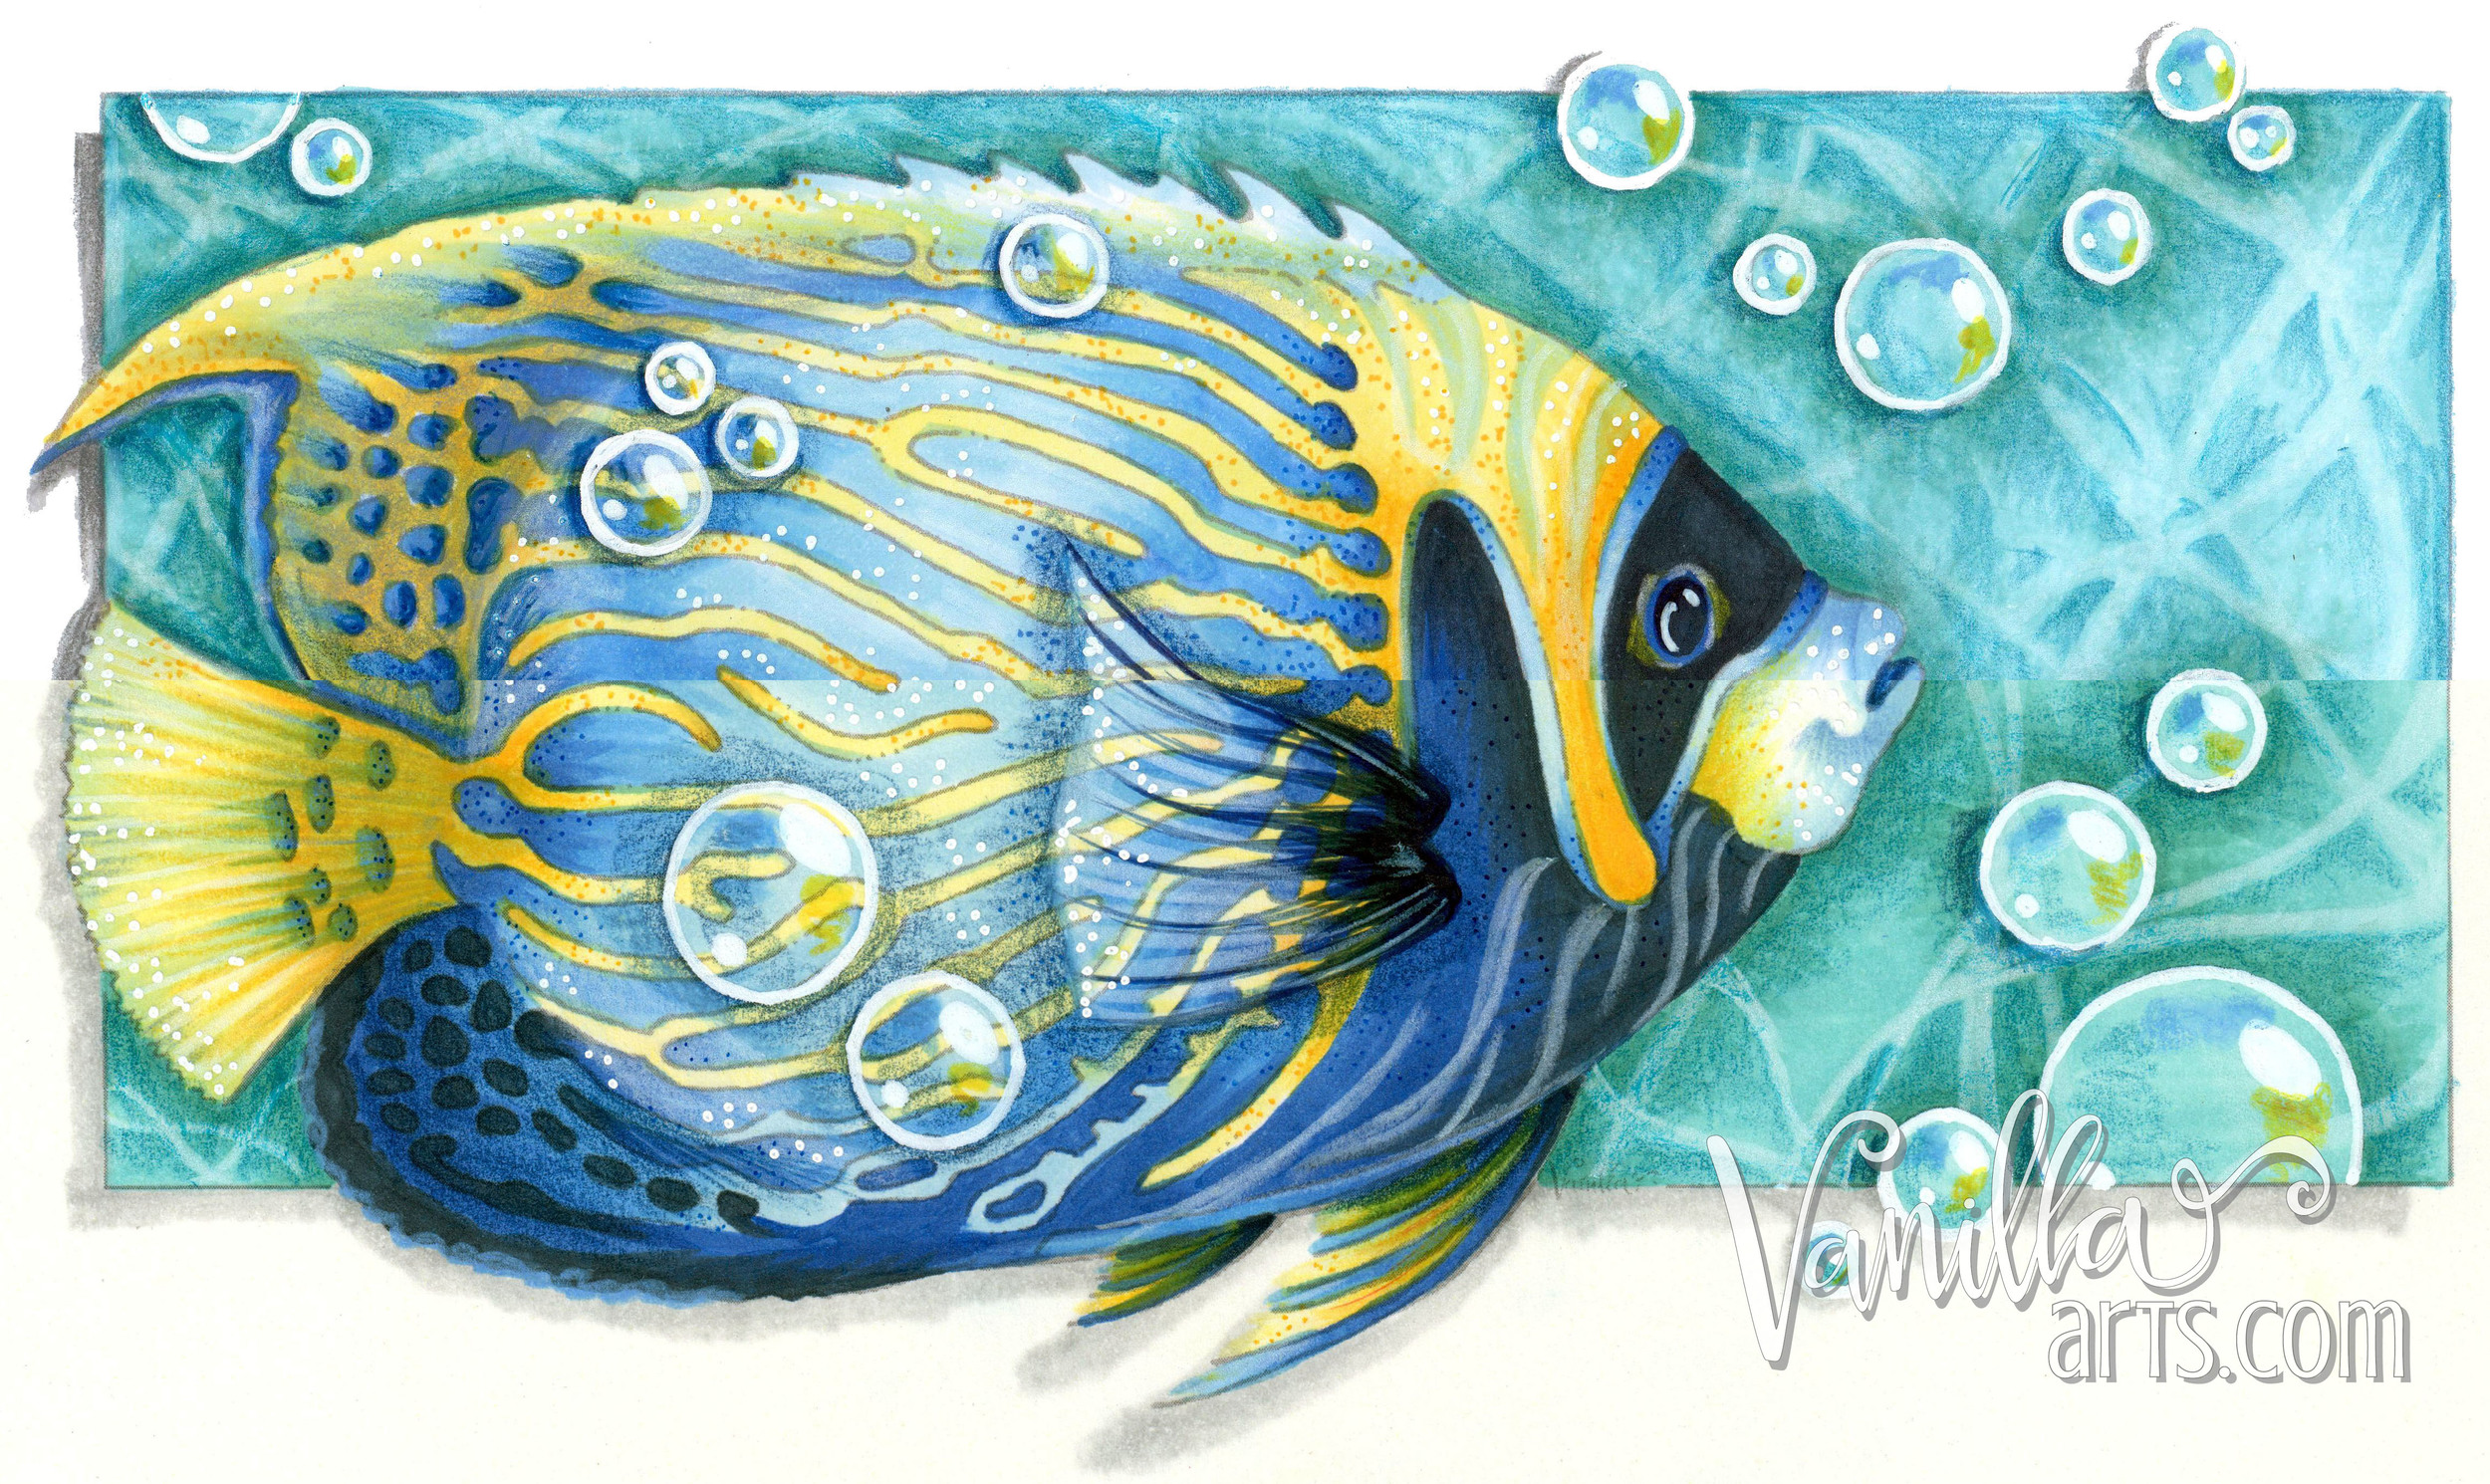
Here's a side by side:

X-Press it on top, Cryogen on bottom. Creamy color of Cryogen is more noticeable in real life.

Cryogen vs. XPress It cardstocks. Marker vs colored pencil cardstock | VanillaArts.com

Overall, a move to Cryogen means that I sacrifice some marker blending ability in order to gain pencil blending ability.

  • You can see some unblendable marker strokes in the blue stripes just before the tail on the Cryogen. The B37 was especially stubborn.

  • B99 looks more deep and vibrant on the X-PI but it's only noticeable when side by side.

  • B32 (lightest blue in the stripes) is noticeably lighter and more even on X-Press It.

  • The difference in aqua colors here is solely due to the yellow of Cryogen making all colors look warmer.

  • Blue pencil over yellow marker on X-PI looks muddy. Same on Cryogen looks more subtle and pleasing.

  • Not only does pencil "stick" better to Cryogen, white gel pen adheres more smoothly

So am I a Cryogen Fan now?

Maybe.

I'll still teach with X-Press It because I never want to place hurdles in front of my students. Blending is so much easier with X-PI that I can't justify the switch for my beginners and casual colorers.

But for any project (personal or with advanced students) that requires more than 50% colored pencil, I'll be using Cryogen.



The Flick Stroke: The Essential Copic Marker Technique

The Flick Stroke: The Essential Copic Marker Technique

He loves me, he loves me not...

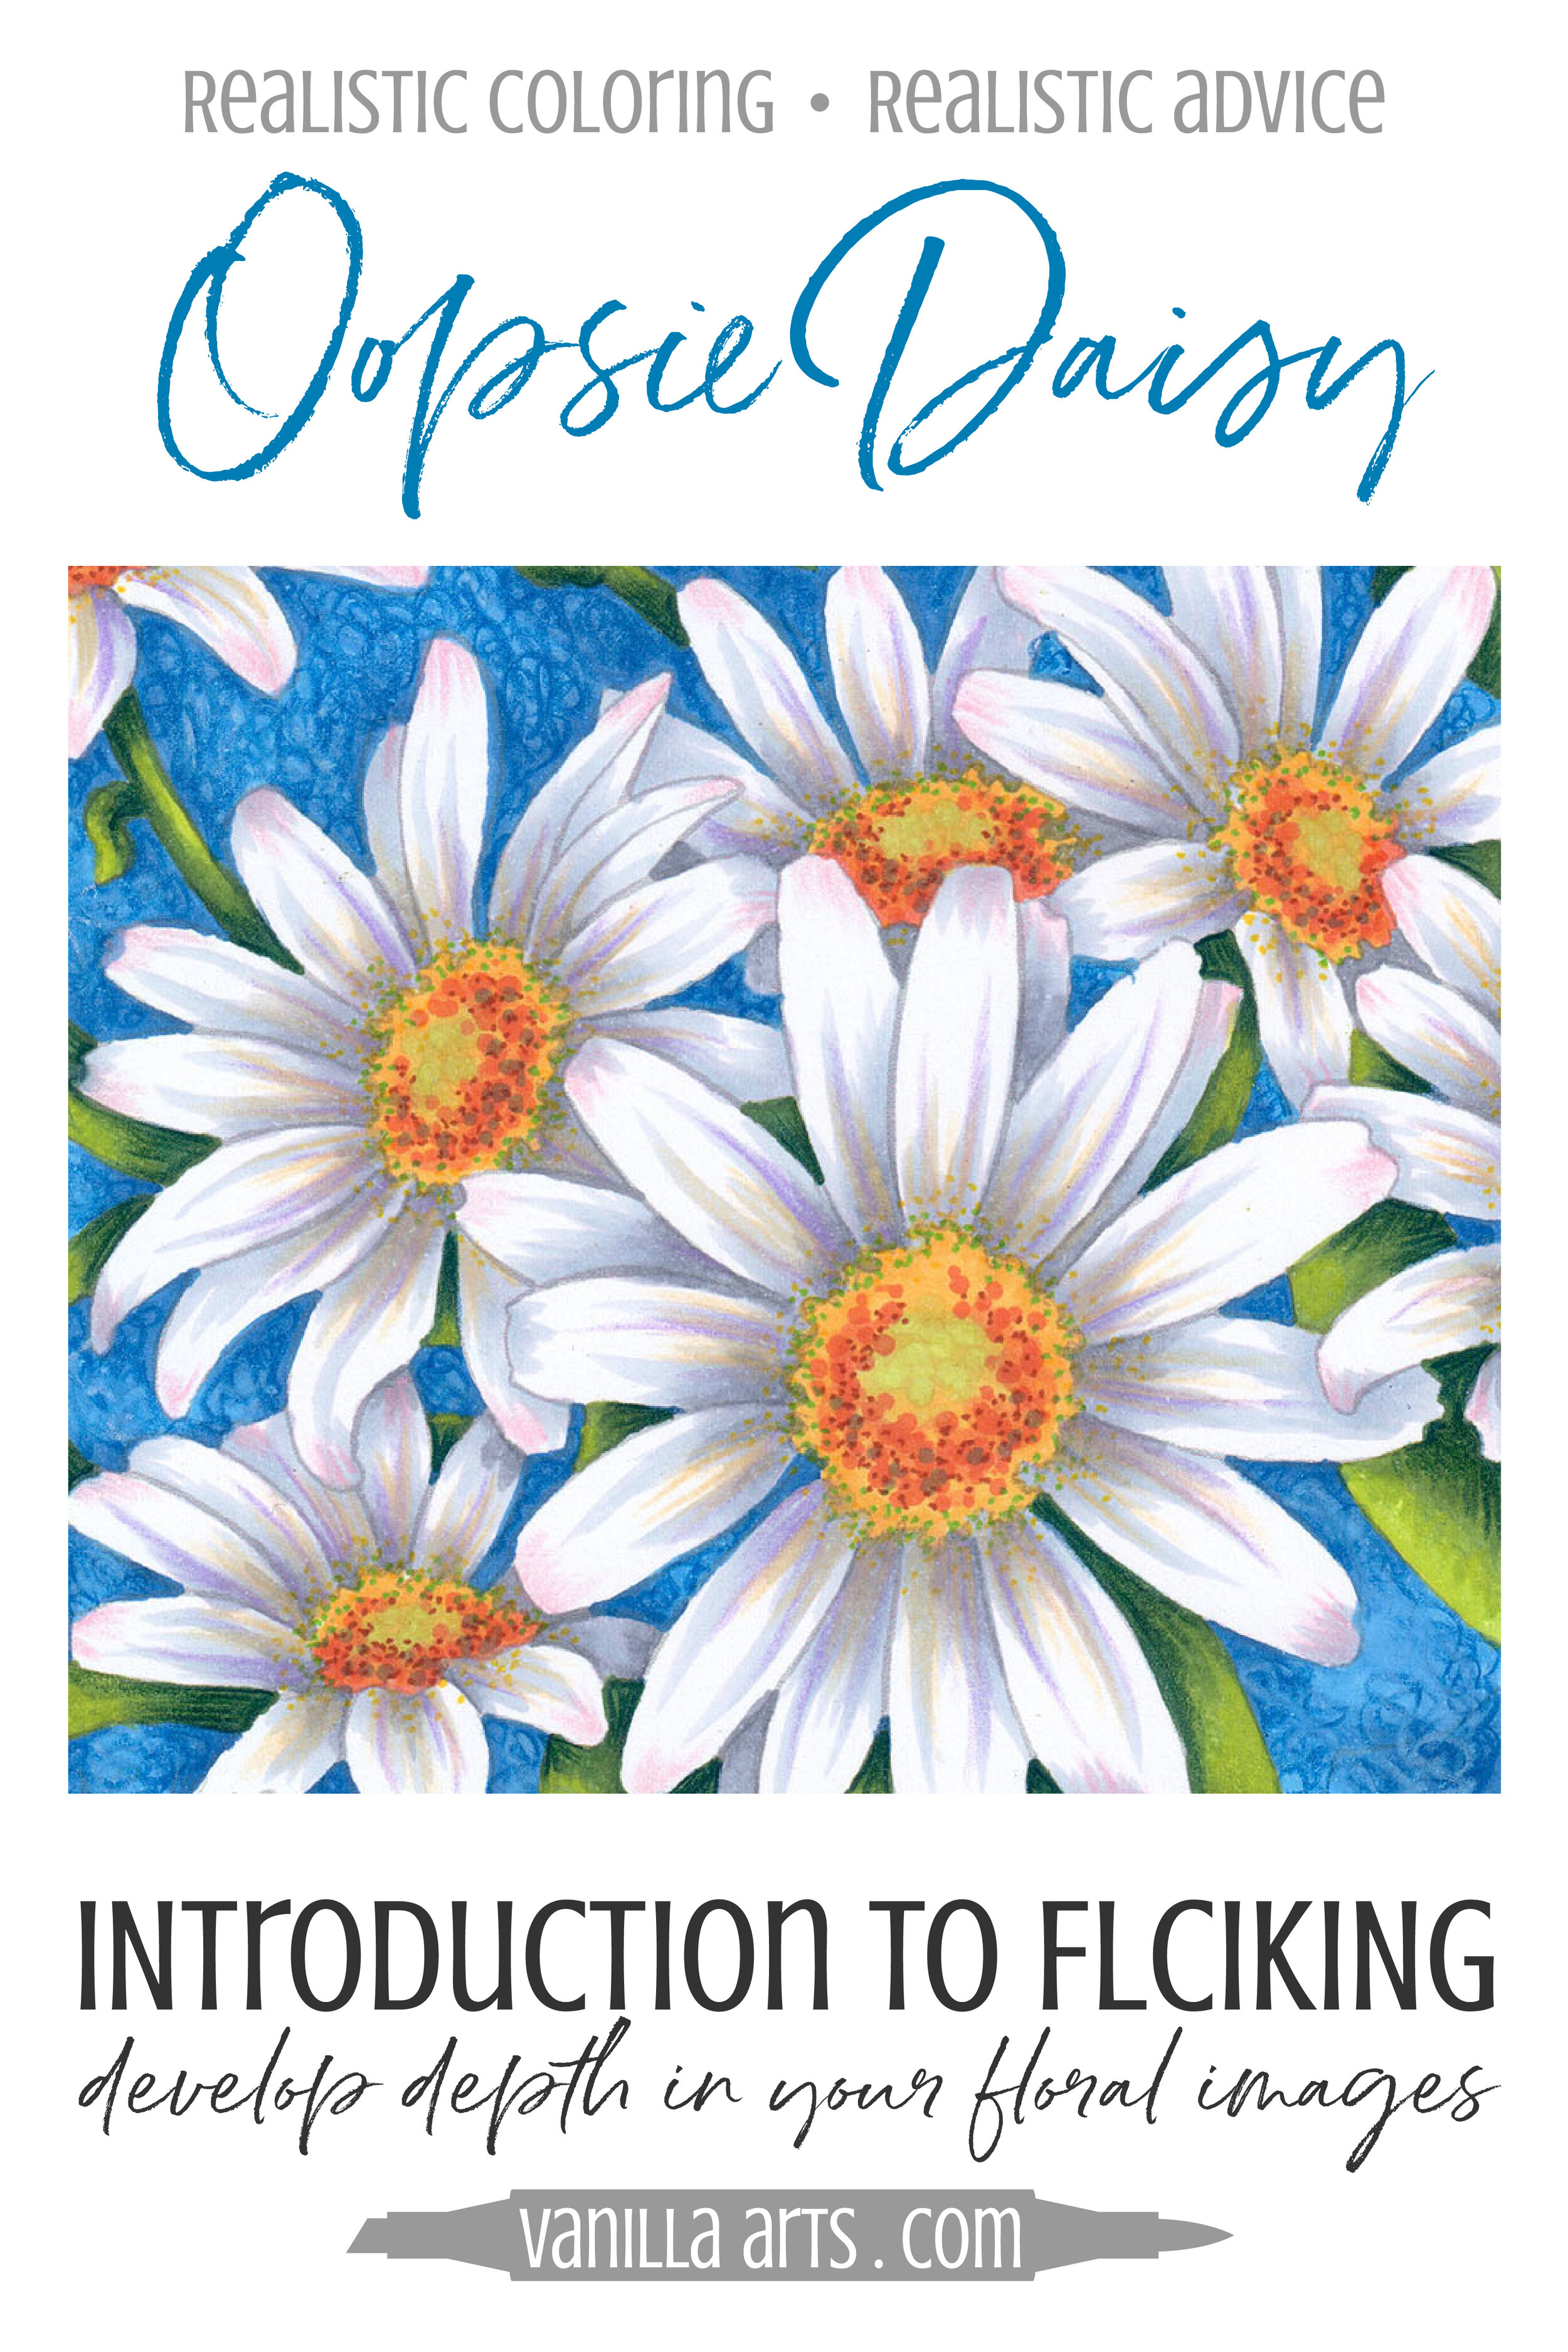
"Oopsie Daisy" is a Marker Painting Workshop that introduces you to the art of Flicking! Flicking can help develop depth in your floral images.

Marker Painting Workshops are NON-SEQUENTIAL!

All of my Workshop classes are FOREVER ACCESS. Work at your own pace and repeat the project as many times as you'd like.

Celebration Cupcake, a Copic and Colored Pencil Marker Painting Workshop

 
Celebration Cupcake - a Copic and Colored Pencil Marker Painting Workshop.  Learn the universally adaptable technique for coloring folds and waves.  | VanillaArts.com | #copic #coloredpencil #realisticcoloring


Make a wish!

People frequently ask for a class on clothing. Here you go!

Celebration Cupcake

Learn the universally adaptable technique for coloring folds and waves.

Soft fluffy frosting and tasty cake, perfect for any birthday celebration. We’re coloring gentle waves of frosting and crisply folded pleats but you can use it on skirts, shirts, curtains, or anything else with folds.

Real time coloring, recorded live

Live Workshops are unscripted demonstrations which provide students with a real look into the authentic coloring process. You’ll see mistakes being made and corrected. It’s just like visiting Amy in her home studio.

Log in and color with Amy at your convenience. Anytime access, no expiration dates. Class was recorded in March 2021 and featured a live student audience. Amy answers questions from the students and offers many tips for better colored pencil art.

Class Kit includes: digital stamp, photo references, supply list, value reference, color map, plus helpful tips and work-in-progress photos

VanillaArts.com


How Important is a Pencil Sharpener?

 
Pencil sharpeners are important when working with colored pencils. Amy shares why a sharp pencil is one of the keys to making your coloring easier, and more enjoyable. | VanillaArts.com | #coloredpencil #realisticcoloring #howtocolor


Let’s talk about Pencil Sharpeners!

Oh, no… that might be a sticky conversation. The three topics of conversation to avoid at your next dinner party are: religion, politics, and the best way to sharpen a pencil

At least when dining with artists.

You think I'm joking, but I've seen a woman brought to tears over the subject. Not kidding. People have some seriously strong feelings about this.

And the rest of you are sitting there wondering what the heck I'm talking about...

Pencils are an important tool of the trade. Actually, "important" doesn't begin to cover it. Pencils are absolutely vital to art.

And behind every good pencil, there's a good pencil sharpener.

(Yes, even mechanical or wood-less pencil mavens shape their leads to a preferred point.)


There are three major schools of pencil sharpener philosophy:

Best pencil sharpening methods | VanillaArts.com

Top to bottom:

  1. Prismacolor sharpened with the Prismacolor brand HAND-HELD PRISM STYLE SHARPENER

  2. Prismacolor sharpened with an ELECTRIC, ROTATING SPIRAL BLADE SHARPENER

  3. Charcoal pencil HAND SHARPENED WITH A BLADE OR KNIFE

Where an artist comes down in the Great Sharpener Debate usually has a lot to do with their training. That drags emotional baggage into the discussion because we all secretly think we're the only ones to receive a proper education. After all, the rest of the field is filled with dithering idiots, right?

But this debate leaves the crafters of the world completely befuddled because they're surrounded by teachers, magazine tutorials, and craft show experts who are all dispensing completely contradictory information.

Use electrical! NO! Use a hand held! NO, THAT'S NOT RIGHT! You'll only get good results from a razor blade!

Because I work with beginners (and also a lot of derailed artists looking to get back into the groove), I get asked the pencil sharpener question. A lot.

And I always answer the question with a very firm...

Well, it kinda depends.

Flag FC.jpg

 I know. My answer is complete mush. But hear me out, the correct answer depends entirely upon what you are trying to accomplish and what materials you are using.

I use the sharpener that works best for me. I've tried several methods and a ton of tools, and after 25 years, I know what works for the work I do.

There's really no point in jello wrestling over this. What sings for me on small scale items will not work for let's say, a muralist. And neither of our methods may be right for you.

So for you, it does no good to ask just any random artist "what's the best pencil sharpener?" You need to narrow your inquiries to only those artists working in your same medium and who are producing the same stroke quality you desire to imitate.

How did you sharpen your pencil to make this mark? And then point to the area you're interested in. That's the correct question


There is not one correct answer- Be willing to test new methods

My primary mentor hand-sharpened all his pencils with a box cutter blade and made us do the same. Hand sharpening has its place- the charcoal pencil shown above is the pencil I use every Wednesday for life drawing class and I always use a blade on it.

But that same blade method produces a completely awful point on Prismacolor pencils.. Why spend 3-5 minutes doing it old school if the tip is inferior to 20 seconds in an electric or hand sharpener? It is an improper use of my time to whittle colored pencil leads for my high detail projects


As a teacher, the best thing I can do is present the various methods which may work for your situation.

What kills me is when a student is clearly having problems and yet ignores my solution because a mentor sold them on a different pencil sharpener.

And I've had more than one student prance into class with their Michael's recommended, Prismacolor certified pencil sharpener- a sharpener that yields a blunt and soft tip that is completely inappropriate to the method I teach.

Yes, I understand that the word on the street is that the Prismacolor sharpener is the only one suitable for sharpening PC pencils- that it saves lead, money, and frustration. Everyone should own two and use them every darned day.

To which I say "pfffttt, maybe"

But if a student is looking to duplicate my stroke quality, they're never gonna get it with that sharpener. Never. Never, never, never. You'd have a better chance at mimicking me with a hand bladed pencil lead than using the Prismacolor sharpener.


Why I use what I use

Four Girls FC 2 h2o.jpg

Let's stipulate my parameters first: I do large areas and backgrounds with Copic marker and I do the super-fine detail work with colored pencil. I use cross hatching to build up layers of visible strokes rather than soft-blending. I never use solvents.

Because of this, I require a super fine tip that retains a point for as long as possible. Blunt tips are pretty useless to me and my stroke quality noticeably degrades as the point disappears.

To get a fine point that lasts as long as possible, I use an electric sharpener that gives me a long narrow taper. I had a plug-in heavy duty Boston Electric desk model which my cat killed in April. Apparently, it was in the way during a nap emergency. I'm now researching a replacement plug-in model and it looks like Boston Electric was bought-out by X-acto which has poorer quality ratings.

Until I replace the desk version, I'm using the cheapo yet portable battery sharpener which I take to classes, an Omnitech model made for Staples Office Supply stores. I've had it about 6 years and it still sharpens just fine. It's loud and cheap and at a $7 price point, I'll be the quality control isn't great. But my little guy doesn't eat batteries too fast, and if I ignore the obnoxious color, it's really not too bad. 

Plus, the darned thing won't die. Best $7 investment, ever!

As you can see, the brand, price, and color are not my main focus when selecting a sharpener. I look for two features:

  • Long narrow taper on the point

  • Point-trigger feature that prevents oversharpening

The objection to electrical sharpeners is that you waste pencil lead. And while that may have once been true back in maybe 1962, it's not really a problem today. Even my cheapie has a trigger button inside that stops the blade from rotating after the pencil has been fully sharpened. You simply can't sharpen a pencil for 2 hours straight if it has that stop-button safety feature.

In fact, I had one student vehemently object to my not using a prism sharpener due to lead wastage. So I showed her my Omnitech which had about a weeks worth of shavings in it and we compared that to the pile of woodchips that she'd generated in 1 hour of class time... there was no comparison. I was clearly wasting less wood because my sharpener knew exactly when to quit.


My Goal: A long, narrow point

I'll use any sharpener that gives me that long length of pencil lead.

One, because I want to leave a fine line but two, I don't want to sharpen as often.

Here's an enlargement of my sharpened pencils. The left is my Omnitech cheapo and the right is the premium Prismacolor hand held.

Assume that we both take 10 strokes to wear down our leads to the orange line. Look at the difference in diameter! One can go longer between sharpenings with a long taper tip because it stays thinner longer.

Yes, I know. Prismacolor does tend to break more often with a long taper but here's the thing I've noticed: when it does break, there tends to be a sharp edge left that I can use for about a dozen strokes before I have to sharpen.

In my classes, most of the time when a student is having difficulty, it's in large part due to a dull lead. I've noticed that they make a stroke, it doesn't look quite right so they put a new stroke on top of it, and then another and another and another. If they'd just sharpen, they'd get the stroke right the first time instead of overworking the area.

Ultimately, what good is all that saved pencil lead if you never learn to do a technique properly? Even worse, you pay for it emotionally when your results don't match up with the teacher or your neighbor's. The cost of a colored pencil is minimal compared to the price you pay in confidence and self esteem.


I also use blunt tipped pencils

Sometimes the situation does call for a smoother blend with no visible strokes. Like backgrounds or on faces- places were I want to hide my lines.

Remember, different situations call for different techniques. Good artists are chameleons and will adjust their technique to get the best results.

What do I do when I need a soft blunt tip?

Peach is a color that I use for both soft and hard strokes. So I have two peach pencils, one usually has a fresh point on it and the other is dull. I have about 6 colors that I keep two versions of

  • peach

  • light peach

  • white

  • indigo

  • dark green

  • tuscan red

I'm not suggesting that you do a Noah and keep two of everything in the ark, but if you find yourself constantly scribbling on scrap paper to wear down a point, you might want to keep a second of that color handy and dull.


Worried about wasting lead?

Want to know what really, really, really extends the life of your pencils, no matter what sharpener you own?

Pencil extenders. They come in all sorts of varieties (some are far more comfortable than others) but they all add about 4-5 inches of handle to short pencils.

I own fourteen.

They work best when the pencils are 2-3 inches long, longer than that and they try to bend under firm pressure.

I regularly use my pencils down to nubby stubs. My record is just under 1 inch long and I had to quit because there wasn't enough pencil to grip while sharpening.

That same student who chided me for wasting lead in an electric sharpener was throwing away all pencils shorter than 4 inches long.

Hmmm... who wastes lead???


It's never a cut & dried answer

You need to evaluate the way you use your pencil and choose the sharpener that gives you the desired point.

If you do soft circular strokes with your colored pencil, my long narrow point is not going to work. You're much better off with a sharp knife and an altoid tin to catch the shavings.

If you're afraid of blades, then try the shallow prism sharpeners.

The point is that anyone who emphatically insists that Brand X sharpener is the only sharpener for all of mankind is wrong.

And frankly, I'd question their judgement on more than just sharpeners.


Find recommendations from artists that you admire

What's the best sharpener for art pencils?

The winner of your tests. The best sharpener is the one that works for you.


VanillaArts.com
 

For specific information on long-point sharpeners, you can check out this article:


Imikas Sharpener.jpg

December 2017: I never did purchase a big electric plug-in sharpener.

That ugly Ominitech battery powered sharpener is still going strong. I'll use it until it dies.

I've also found the same sharpener in a tasteful black! 

Everything about the Imikas sharpener is the same as my trusty old ugly Omintech. EVERYTHING, right down to the lettering imprinted on the battery closure and the waffle grooves on the rubber feet.

41InQleibJL._AC_US436_QL65_.jpg

Now I have an ugly sharpener for home use and the sedate black one travels to classes with me.

February 2019: The Imikas sharpener from 2017 pictured at left is no longer reliably available on Amazon.

There is a newer version (see link below) that still gives great results. Use the sharpest setting to get the kind of point I recommend in this article.

Note: Neither of the Imikas versions nor the original Omnitech can be considered “luxury” sharpeners. They’re inexpensive BUT they still should work smoothly. I have one student who purchased the 2017 version which worked really slowly, despite fresh batteries. That is NOT normal! She returned the sharpener and the replacement is still working fine.


I also have a favorite hand-held sharpener-

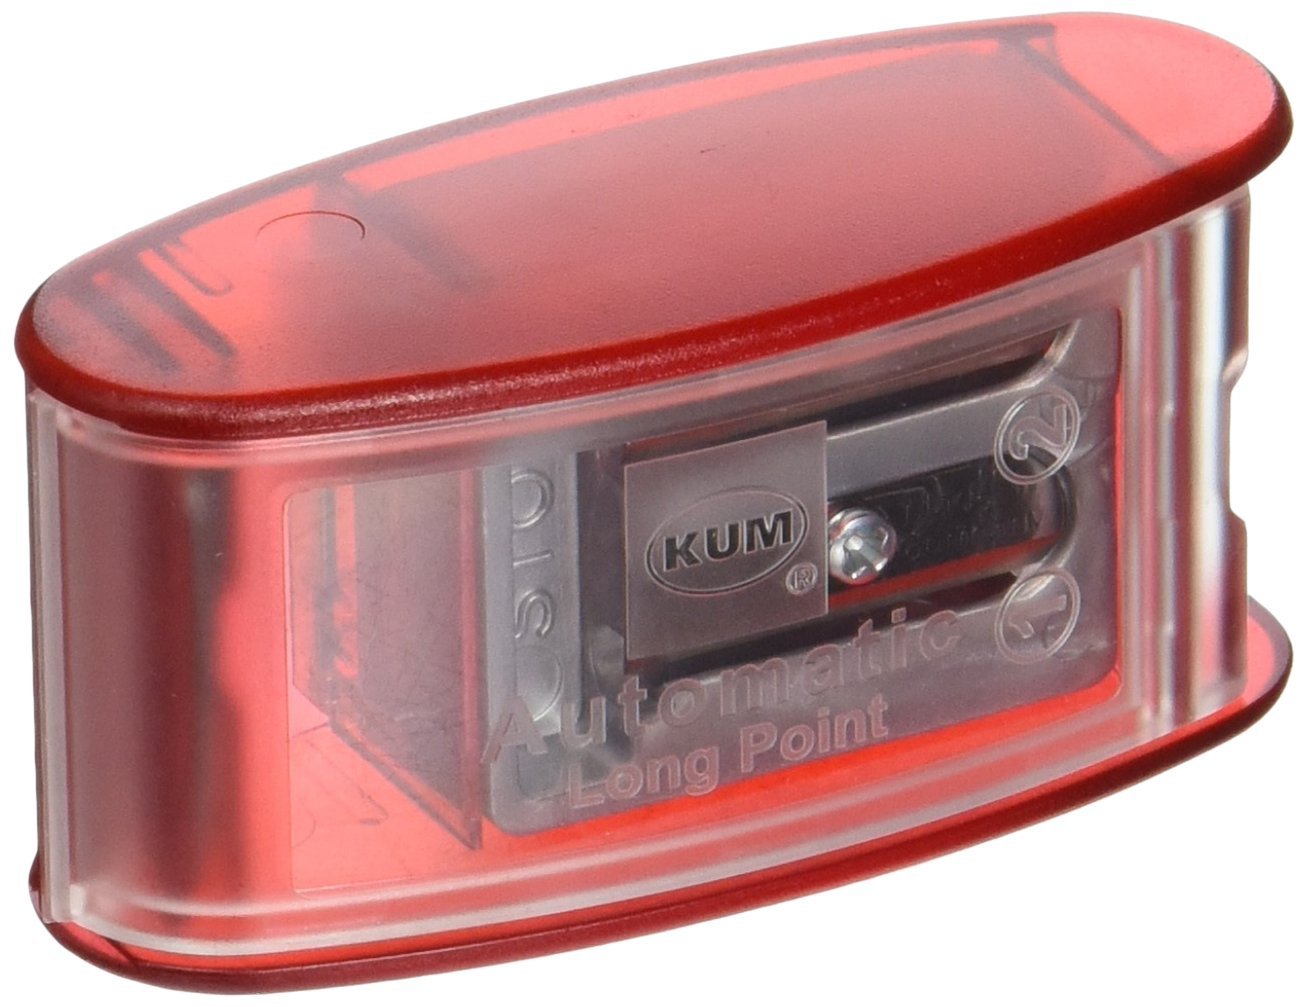
Kum sharpener.jpg

The KUM AS2 Long Point sharpener goes with me everywhere. Like the Imikas, it's very reasonably priced (under $10 USD) which is cheap enough to own several.

I have one in my class supply bag. I have one in my watercolor travel kit. I have on in my colored pencil kit. I have two more in my desk drawer just waiting to go on an adventure. 

By the way, there are two similar sharpeners by KUM. The AS2M is blue instead of red and has a lead pointer on the side. I never use the pointer. It's the same exact sharpener otherwise. I would not pay more for the blue AS2M version.

The Palomino Blackwing edition of the KUM is an AS2 (red), this time you're paying more for black plastic to match your Blackwing pencils. Here's a crazy thought- buy the red sharpener and use the savings to purchase two Blackwing pencils!

Here's a link to the KUM at Amazon (affiliate link):

I will admit, I like the Imikas/Omnitech sharpener better than the KUM but the KUM is still spectacular and gets an A+ from me.

Why do I favor the Imikas? It's a minor thing. The KUM gives you a slightly longer point than the Imikas which might be too much of a good thing. The KUM point is just a smidgen too long for Prismacolor Premier pencils to handle. If I sharpen in the KUM, I inevitably break off a teeny-tiny bit of the point on the first stroke... but it's less than 1mm loss, nothing to cry over.

It's easy to solve the KUM problem by not sharpening to the extreme limit. But with the Imikas, I don't have to think and plan to pull out early. So a slight edge goes to the Imikas but not by much.